Fiberglass Sub Box Fabrication page 2
Prior Experience: None
Cost: approx. $180
Time: aprrox. 2 days
| Discuss this mod - Here | ||
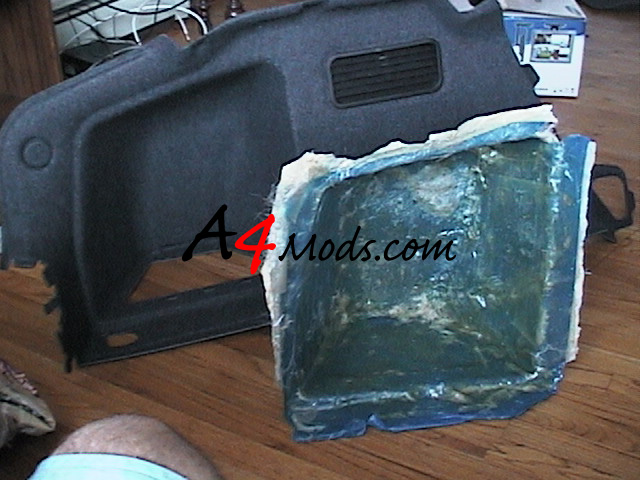
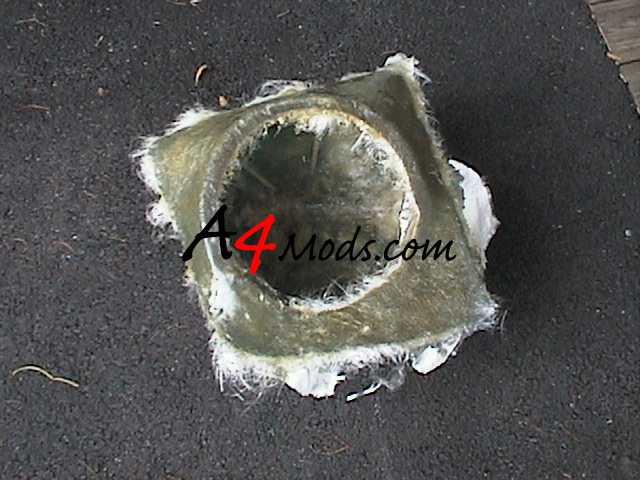
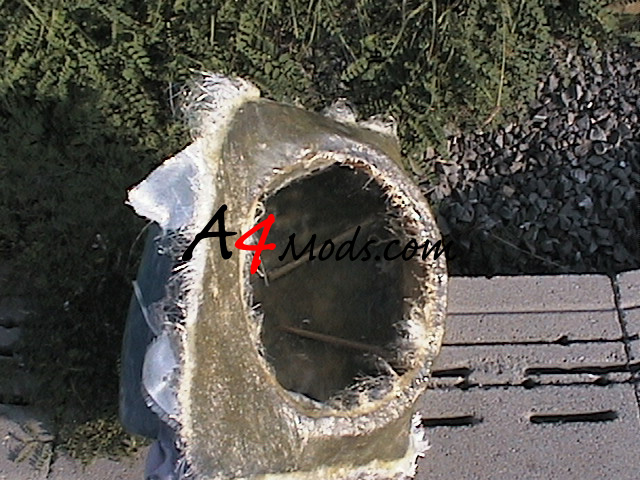
When enough time passes, and the fiberglass is dry to the touch, it is time to remove it from the side panel. This will be a pain in the ass, and I can't imagine it being possible without the quick release painters tape. You just have to carefully work your way around the box, between the blue and white masking tape. This will take you quite some time and you may break a sweat but its all worth it. I suggested 3 layers of fiberglass so that it will be somewhat flexible as you try to remove it - making removing it 100 times easier. Here it is --> |
 |
|
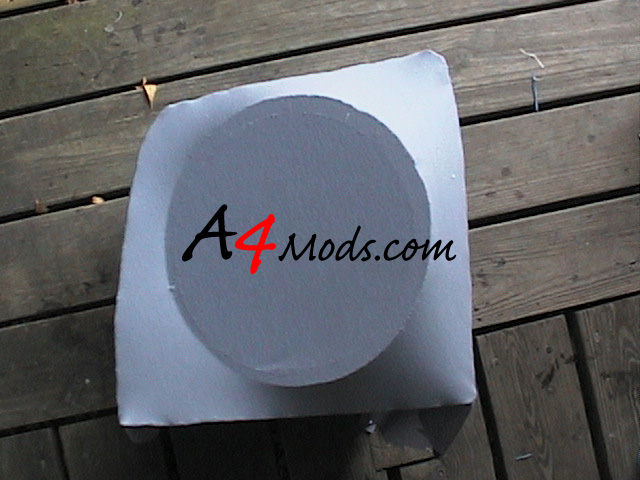
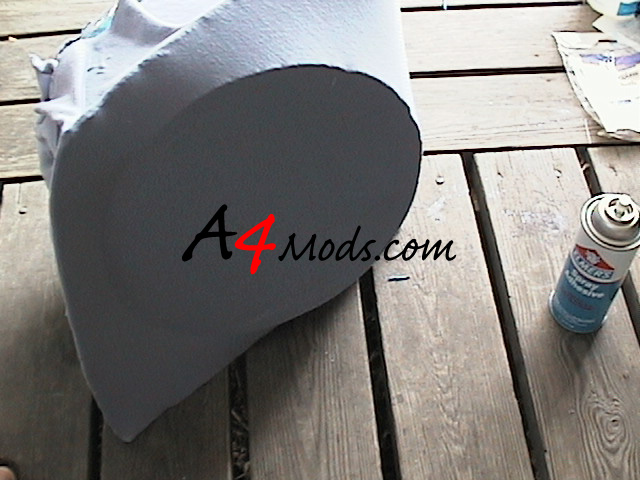
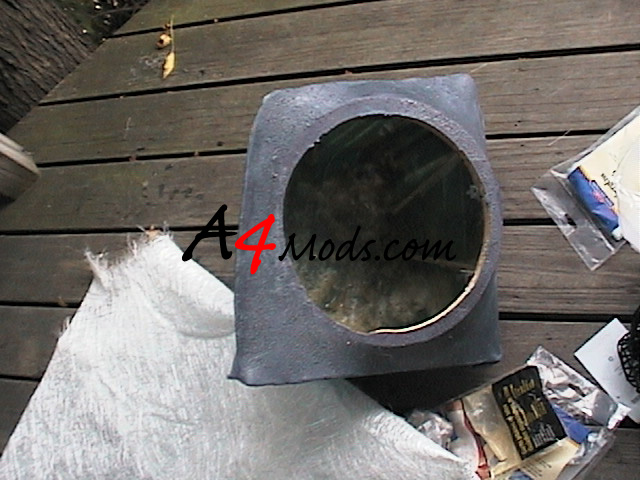
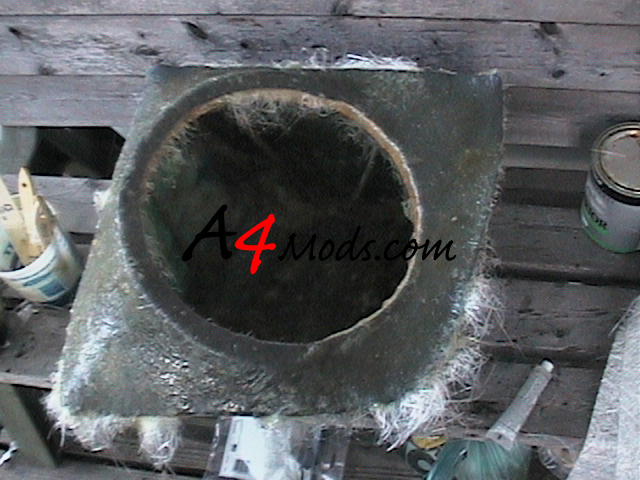
Now that you have it removed, you can put the side panel to the side, as you will not need it again until final fitting. The next step: Layering 3 more layers of fiberglass. For the box to be solid, a good 6 layers is recommended. After reading several articles, I found that fiberglass is much stronger in curved areas (corners, etc.) than in the straight sections. Because of this, I decided to cut one of the wooden dowls, and place pieces of it along the large straight sections of the box. I held them down with hot glue, and then carefully fiberglassed over them - making sure to keep air bubbles to a minimum. If you would rather use more than 6 layers, or feel 6 layers is strong enough without the dowls, then go for it. I just felt I needed the extra strength. I understand the dowls on the inside wont LOOK as good...but then again who is looking inside the box?? When the box is up to strength, let it dry for another 2 hours. When it is dry, go around the edges with your dremel tool and get rid of all the excess fiberglass. I found that a cutting bit worked well for the rough stuff, but the sanding attachment with a 80 grain bit worked best. |
||
Now for the fun stuff - actually designing the looks of the box The look is the whole reason behind this right?? Equally important however is the sound quality. Everyone's sub will require a different volume of air in the box. My sub came with a Qlogic box from MTX with a volume of 0.85 cubic feet. To find the volume of what I had made, I filled it with water and figured it out that way. Turns out it was about .79-.8 cubic feet. Because of this, I could not have my sub flush mounted to the side of my car as initially planned. This bothered me for about 2 seconds, then I realized it would look cooler if I angled it anyway. So I took my best guess and setup the speaker at an angle to increase the volume by the .05 cubic feet. |
||
| UPDATE:
Instead of using water as mentioned above an easier way of getting the correct volume box is this….look up the amount of space your sub needs – most are around 1 cubic foot…..then get a cardboard box that is the same volume (1X1X1 if you need 1 cubic foot). Then you can take some packing peanuts, and fill the box with peanuts so that you have approximately 1 cubic foot of peanuts. You can then pour your peanuts into the enclosure you are working on and see if it is the same volume…if it needs to be bigger, then make it bigger….smaller, then make it smaller. This is common practice for odd shaped boxes such as this one. Since my sub needed more volume than the original backing I supplied it, I had to add in the angled face. I should have re-tested the volume after this addition to see if it met the requirements. The best time to do this would be after you make and mount your MDF or particle board rings. You can lay the fabric down and fill it up with peanuts before fiberglassing the fabric. (see below) |
||
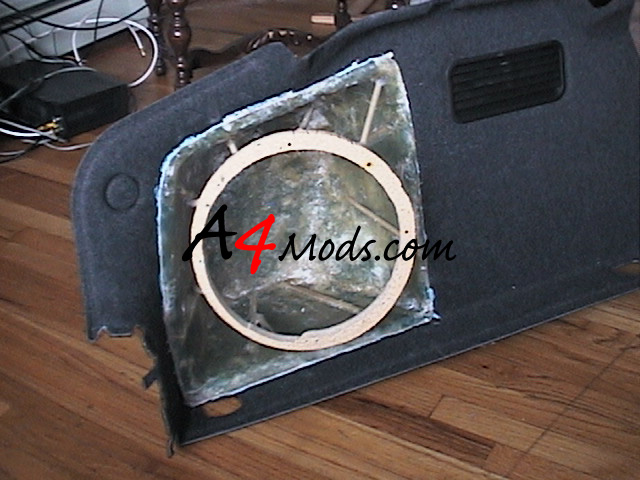
So how to do it?? There are many ways to setup the sub. The first thing you have to do is to make something to mount it to. To do this you I simply cut a ring out of the particle board to mount the sub to. For my ring, I needed a 13 inch outer diameter, and an 11 inch inner diameter. These dimensions should be specified with your sub. Just so you get an idea of what I am talking about here's what it will do, and what it will look like: |
||
 |
 |
|
Some people prefer to get a little fancier and do a flush mount ring (two separate rings glue together). It is harder to do, but may make the fiberglassing portion easier since you will not have to cover the area that contacts the sub. That would look something like this: |
||
 |
I stuck with the simple ring because good circles are hard to cut. As you can see, I messed up mine quite a bit, (circles are not centered on each other) but all of the mounting holes were still good to go. |
|
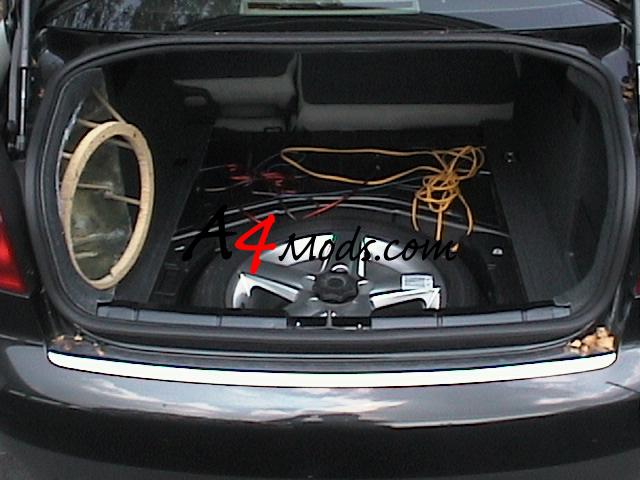
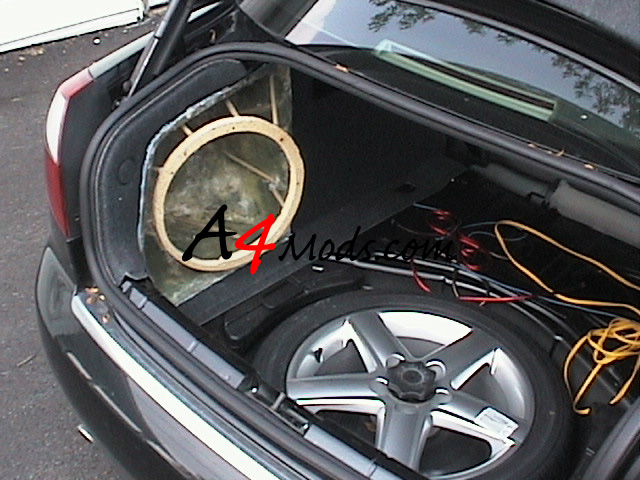
As you can probably tell, you will be positioning the particle/fiber board ring into place by hot gluing it to pieces of dowl. You can break all the dowls and move them around if you are not happy with your configuration. When you get everything set, MAKE SURE that it is in there secure. You will be applying some pressure and fiberglass resin to this part so if it collapses, you are screwed. Better safe than sorry. After your speaker ring is in place and securely mounted, move on to the next step...oh yeah...a test fit in the car wouldn't hurt :-) |
||
 |
 |
|
Sweet!! |
||
Now we are on to laying down our "stretchy" material. I used this thin synthetic cloth that was the cheapest thing I could find at the store. The only quality this needs to have is elasticity. I got this sexy purple color...haha What you do is cut the cloth to a piece about 1 inch large than your box in all dimensions. You then use the spray glue to attach it to the box. It is very important to get a solid bond around the "ring" - otherwise you will lose the entire shape of the box. Here it is: |
 |
|
You want to make sure that you overlap the cloth to the back of the box and that there are no wrinkles on the front. PLEASE follow the directions on your spray glue! Some require you to wait after spraying before anything becomes sticky, and PLEASE let the glue dry before you continue - If the cloth comes loose while you are applying the resin, your box will look terrible. |
||
 |
You can see I overlapped the edges about 3 inches which was a little too much. Important: When you bring the cloth to the back of the box, make sure that it follows the profile of the box. If you have a 'tent' thing going on at the edge you will screw up your perfect fit!. You want to keep the back of the box as close to the car's cutout as possible! |
|
The next thing you want to do is to mix up some resin, and brush it onto the cloth. You should coat the entire cloth with the exception of the center of the sub-hole. (That would be a waste). It is important that you go all the way to the edge and around to the back. Every part needs to be covered if you want this thing to be air tight. This resin coating will bond the cloth to the fiberglass and the wood permanently. Make sure it's what you want before you let it dry! After the resin is applied let it dry for an hour or so. DO NOT apply any fiberglass on this first coat, JUST RESIN + hardener. |
 |
|
There is what mine looks like with only the resin applied. After it dried I cut out the hole for the sub again. |
||
NOTICE: The surface of my ring has been covered with cloth and resin (and eventually fiberglass) So my sub will no longer be sitting on the particle board - This may cause fitment issues for some and Sanding and Caulking may be required. If you had made a 'flush mount' ring this would not be an issue since the inner ring would not have the fiberglass on it -- Your choice! |
||
 |
After you are all trimmed up, it is time to fiberglass some more. It is the same technique of resin, fiberglass resin as before and you are looking for another 6 layers. I used a mix of matt and cloth. This part was the very easy since the surface should be very smooth. I was a little concerned with the quality of the seal between the front and back of the box so for my own good, I did one layer of fiberglass on the inside of the box all around the edge. It was more of a peace-of-mind thing than anything. As you can see in the pic, just let the extra fiberglass hang over the sides. If you wrap it, you box will grow and will not fit anymore! |
|
 |
Here it is after all 6 Layers were on. I let it dry for 2 hours at least. (When you apply 4-5 layers at a time it takes longer for it to dry - so don't rush it, you want it to be strong) I let it dry in the sun and took a break. |
|
 |
||