B7 RS4 OEM Rear Sway Bar Install - Audi A4
Prior Experience: None
Cost: $110
Time: 30 minutes
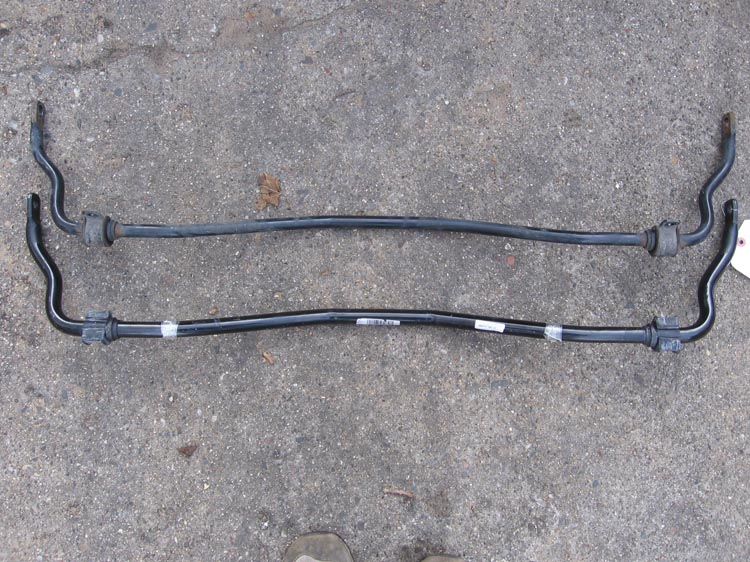
Although the H-Sport and Neuspeed swaybars are popular among the B6 crowd, I decided to go for an OEM upgrade to the B7 RS4 OEM rear sway. This bar is a 22mm solid bar from the 16mm stock bar (or 18mm if you have sport package like me). The result is a significant performance increase. The vehicle exhibits less understeer which is very nice for those tight corners.
 |
 |
|
OEM B6 A4 Sport Package Sway Bar |
OEM B7 RS4 Sway Bar |
|
SUPPLIES - The supplies are easy: The B7 RS4 swaybar and new bushings. This should set you back about $115. They can be purchased from the dealer (not recommended) or your favorite aftermarket supplier. For tools all you need is a socket wrench, a 13mm and 16mm socket and a couple extensions/swivels. If you have been reading this site, you will know you should always have some extensions and swivels handy. Some blue loctite wouldn't hurt either.
|
||
|
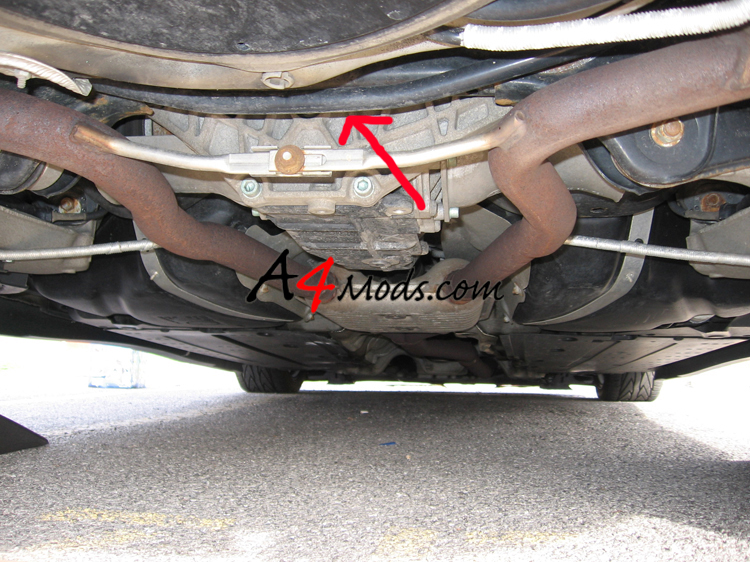
The first thing you need to do is get the rear of the car up on ramps (I suggest you use ramps and not a jack - this way the suspension stays loaded). After you are up on the ramps, you should look at how the stock swaybar is positioned. |
|
 |
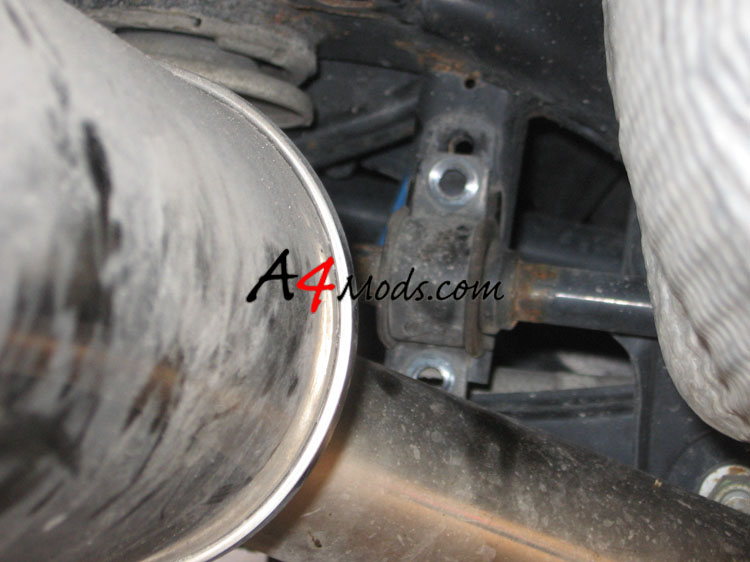
On either side of the sway there is a rubber bushing held on by a bracket (2 bolts). The arrow in the picture to the left points to the bushing on the passenger side.
|
|
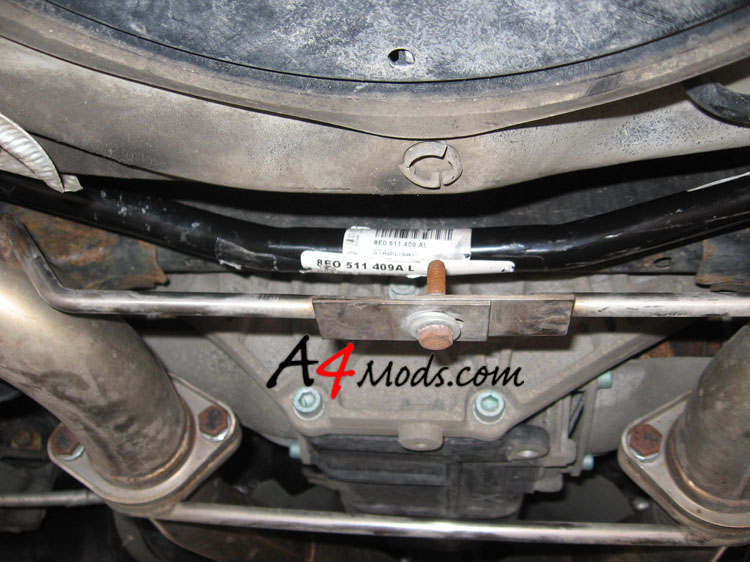
After you get a good look at the sway, you will have to lower the rear section of the exhaust system by unbolting the rear hangers. There are two bolts on either hanger. You may have seen this previously in the Neuspeed Exhaust Install |
 |
|
 |
With the rear end of the exhaust unbolted, you can go ahead and unbolt the bushings on either side - 13mm socket. |
|
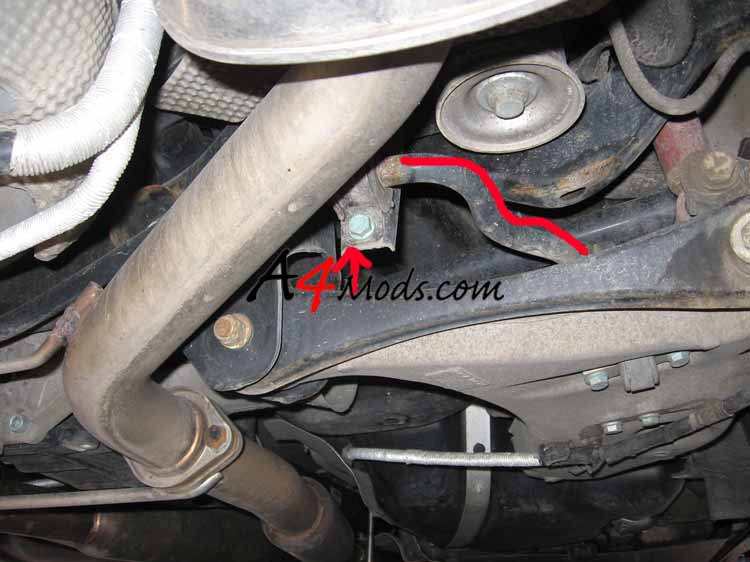
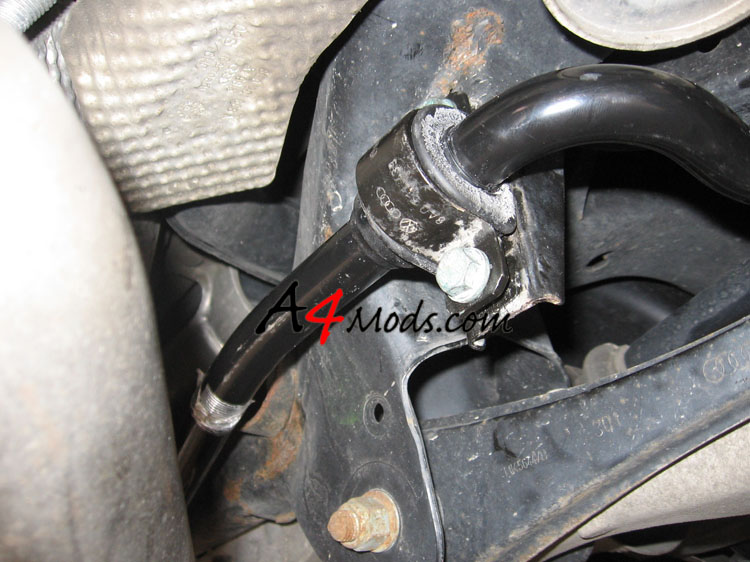
On either end of the sway there is a 16mm bolt holding it in place. Use your socket wrench, swivel and extension to get a good grip on these to brake them loose. Here is a pic of the one on the driver's side. |
 |
|
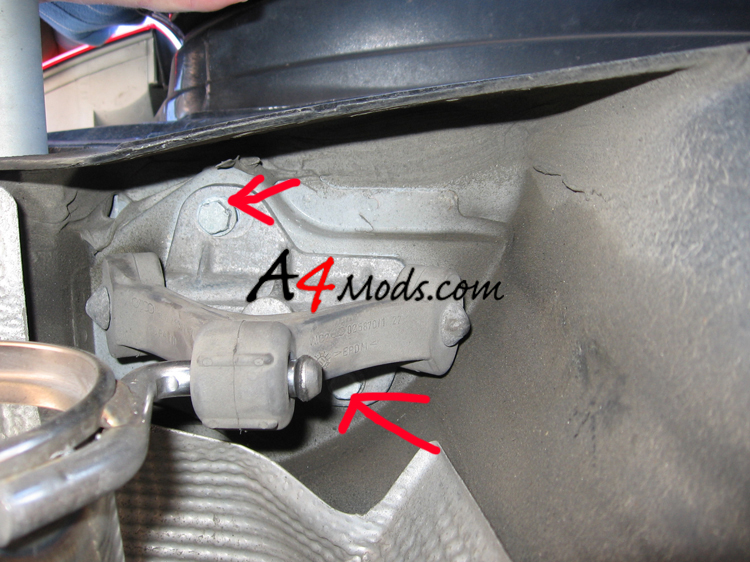
When the swaybar is unbolted (6 bolts) you can take it out. This will take some care to get it out. BE CAREFUL not to hit the auto-level sensor (blue lever) near the driver side rear wheel! If you brake that piece of plastic you will regret it! Here's what it looks like next to the RS4 bar. |
 |
|
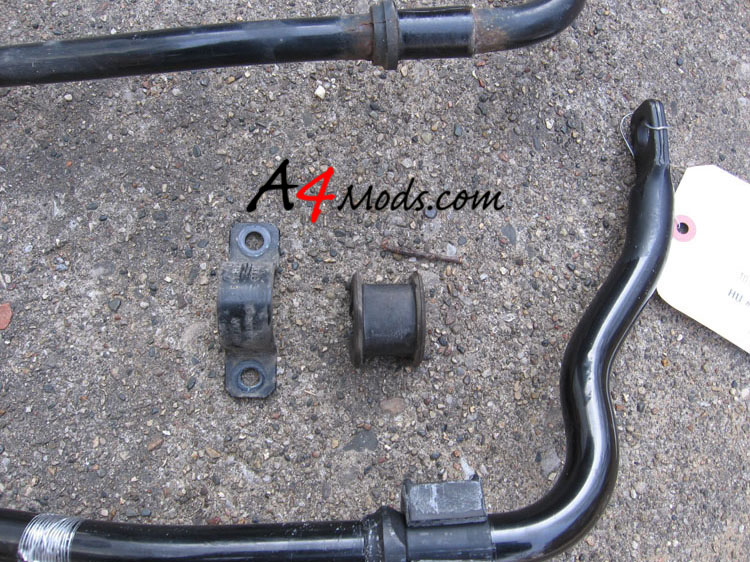 |
You will be reusing the metal brackets that were over the OEM bushings. So you need to pull them off. |
|
 |
When I installed my bar, the metal brackets didnt want to stay over the beefier RS4 bushings. So I lined the bar up and used the bolts to pull the bracket to the bushings. I started with the top bolt, then pushed the bracket onto the bushing while I started to tighten the lower bolt. Once the threads caught on the bottom bolt, I was home free. I know that doesn't make sense...but if it happens to you, you will know what I mean. |
|
|
The rest of the installation is just the reverse of the removal. Here is the final product. |
|