Audi A4 Broken Trunk Release Repair
Prior Experience: none required
Cost: approx. $0
Time: aprrox. 30 minutes
| Discuss this mod - Here | |||
| After pulling my car out of storage I had an issue where the trunk would not open. I could get it to open by using trunk override handle inside the trunk and I could also open it using the key - however when I pressed the trunk release button on the key FOB, it would not open. I could hear the motor trigger, but it was not able to pop the trunk. I pulled it appart to figure out what was wrong - this writeup shows the fix | |||
| . | |||
| SUPPLIES - All you need is a phillips head screwdriver and a T25 torx screw driver. A 90 degree pick will also help. This is an easy DIY. | |||
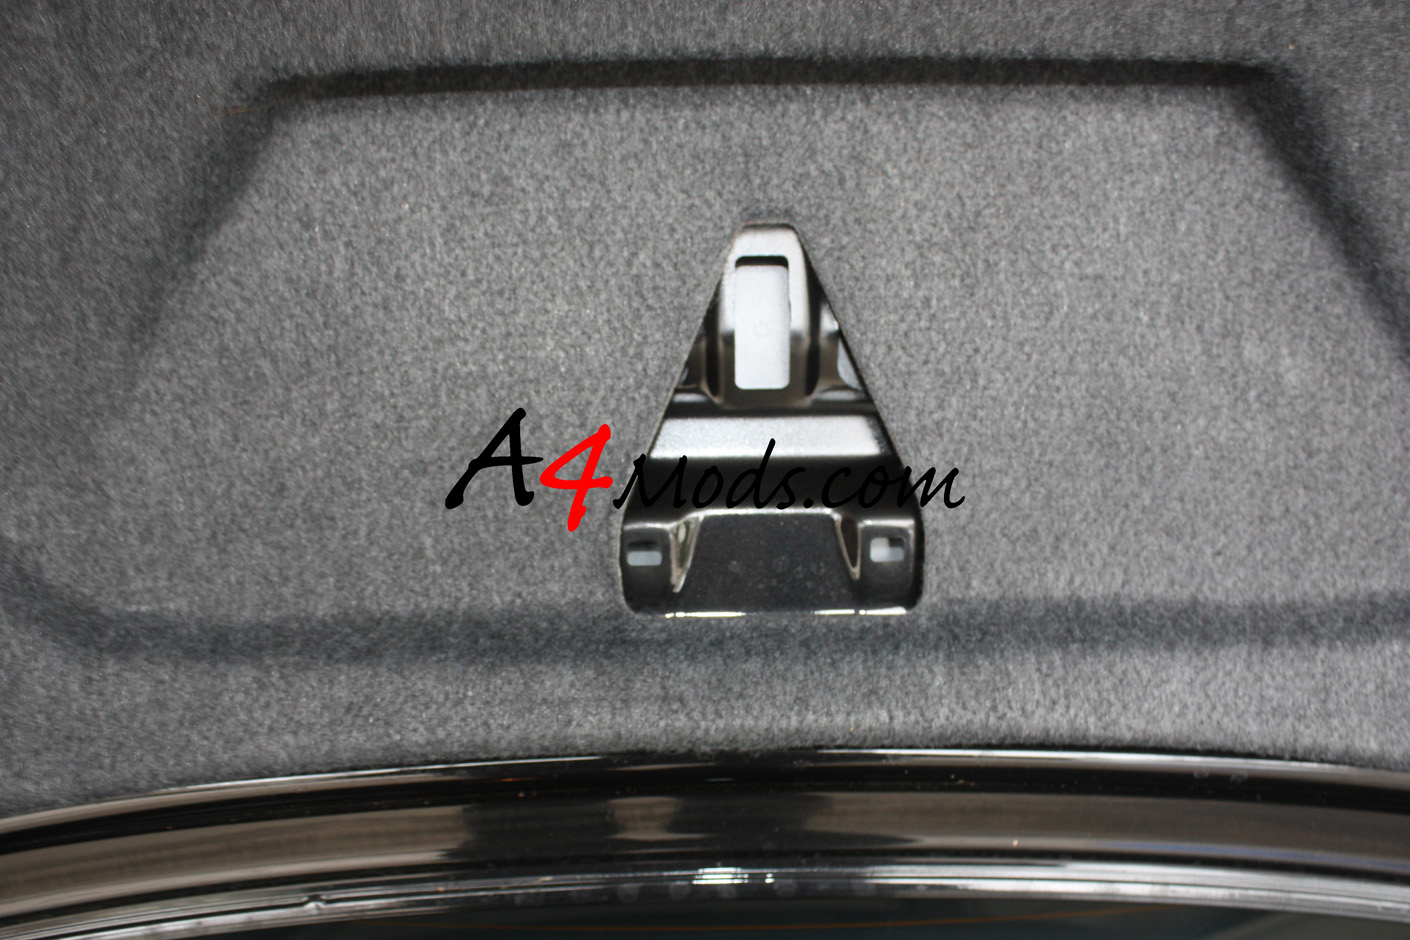
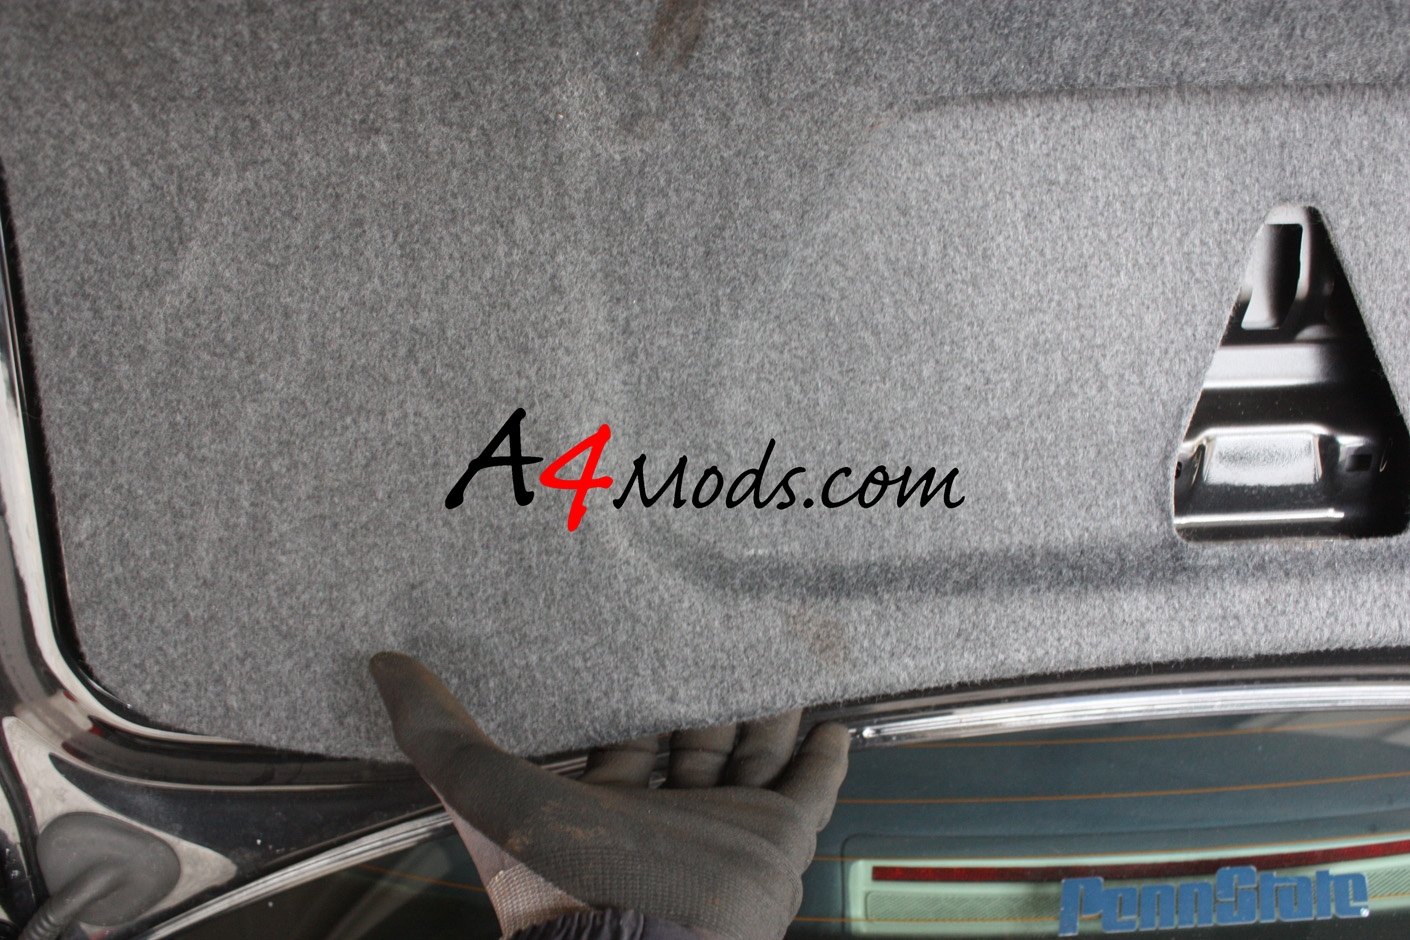
| First just pop your trunk so you can get a look at the rear deck lid cover - you will be removing this to access the trunk release mechanism. | 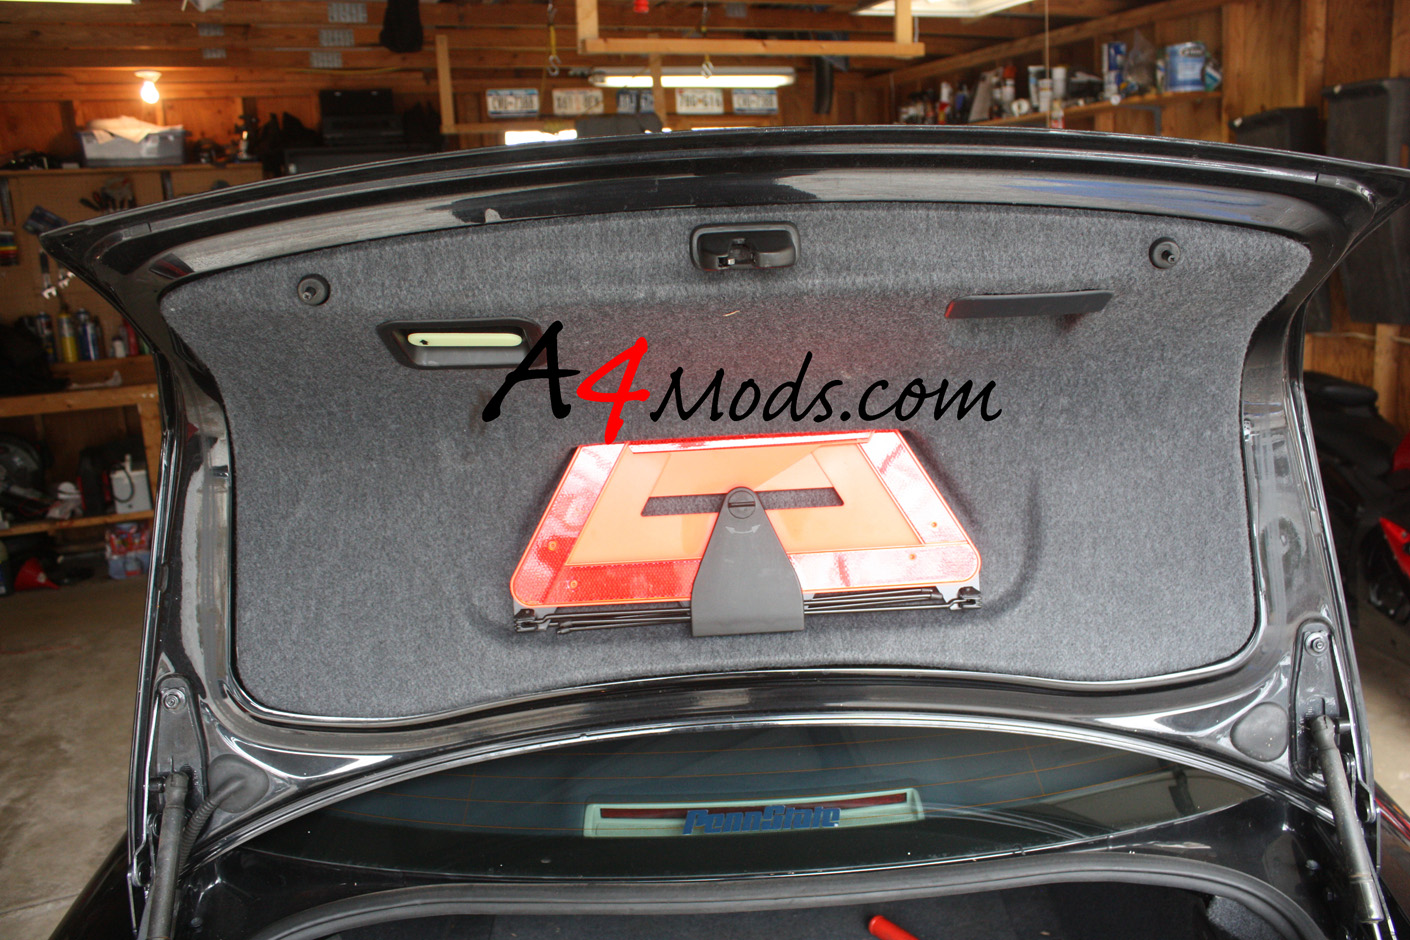 |
|
|
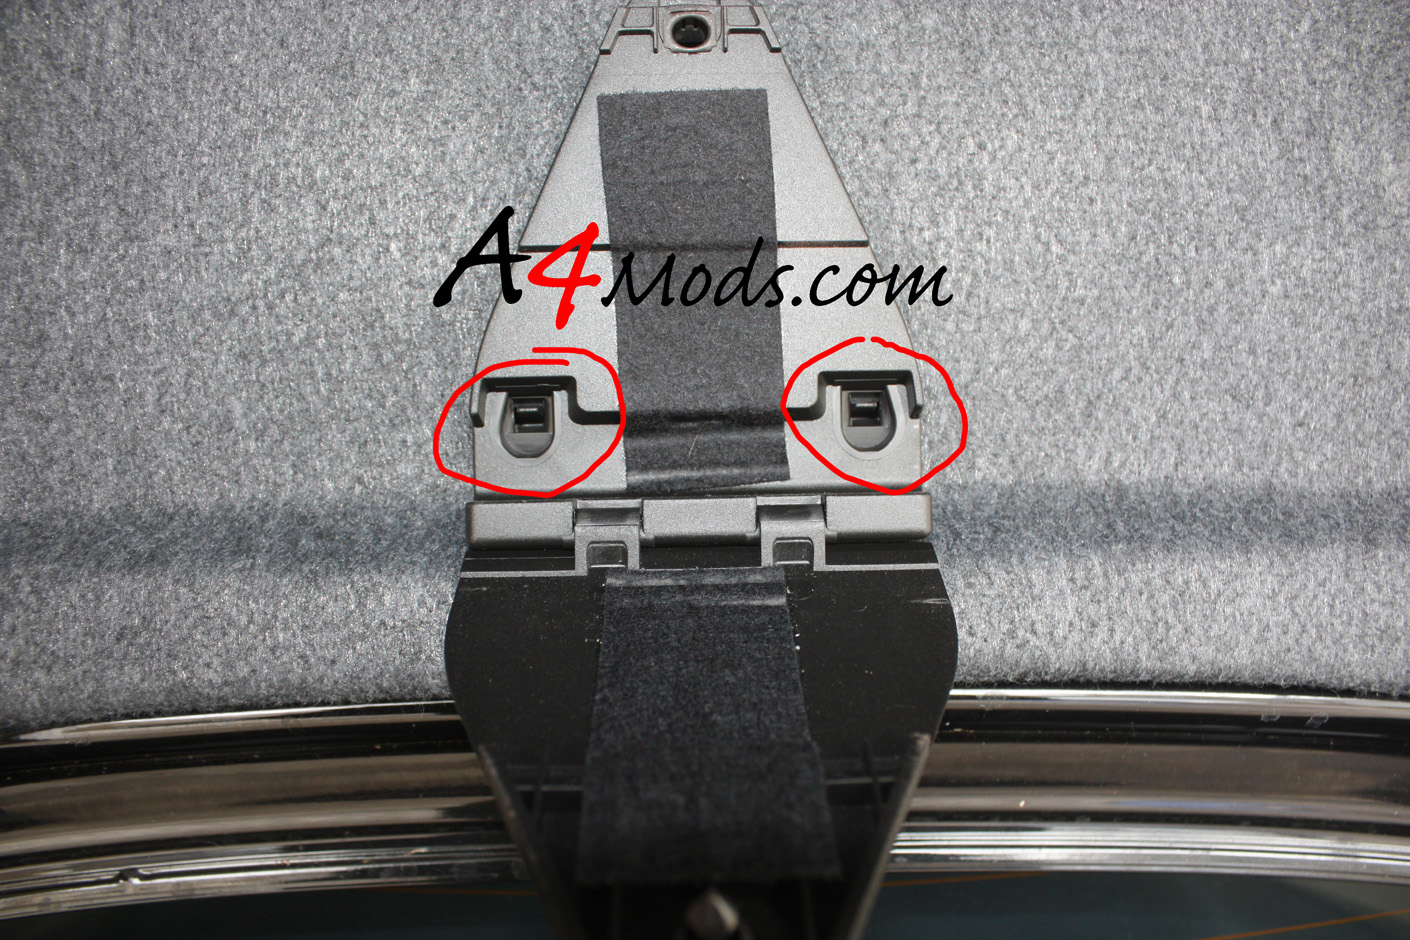
Pop out the emergency triangle. Then you will have to remove the bracket which holds the triangle. It is held in place at the bottom by two tabs as you can see in the picture below. Use a pick or a flathead screwdriver to release the tabs and remove the bracket. |
|||
|
|
||
| After you remove the triangle bracket, grab your philips head screwdriver and remove the screw by the handle on the right hand side | 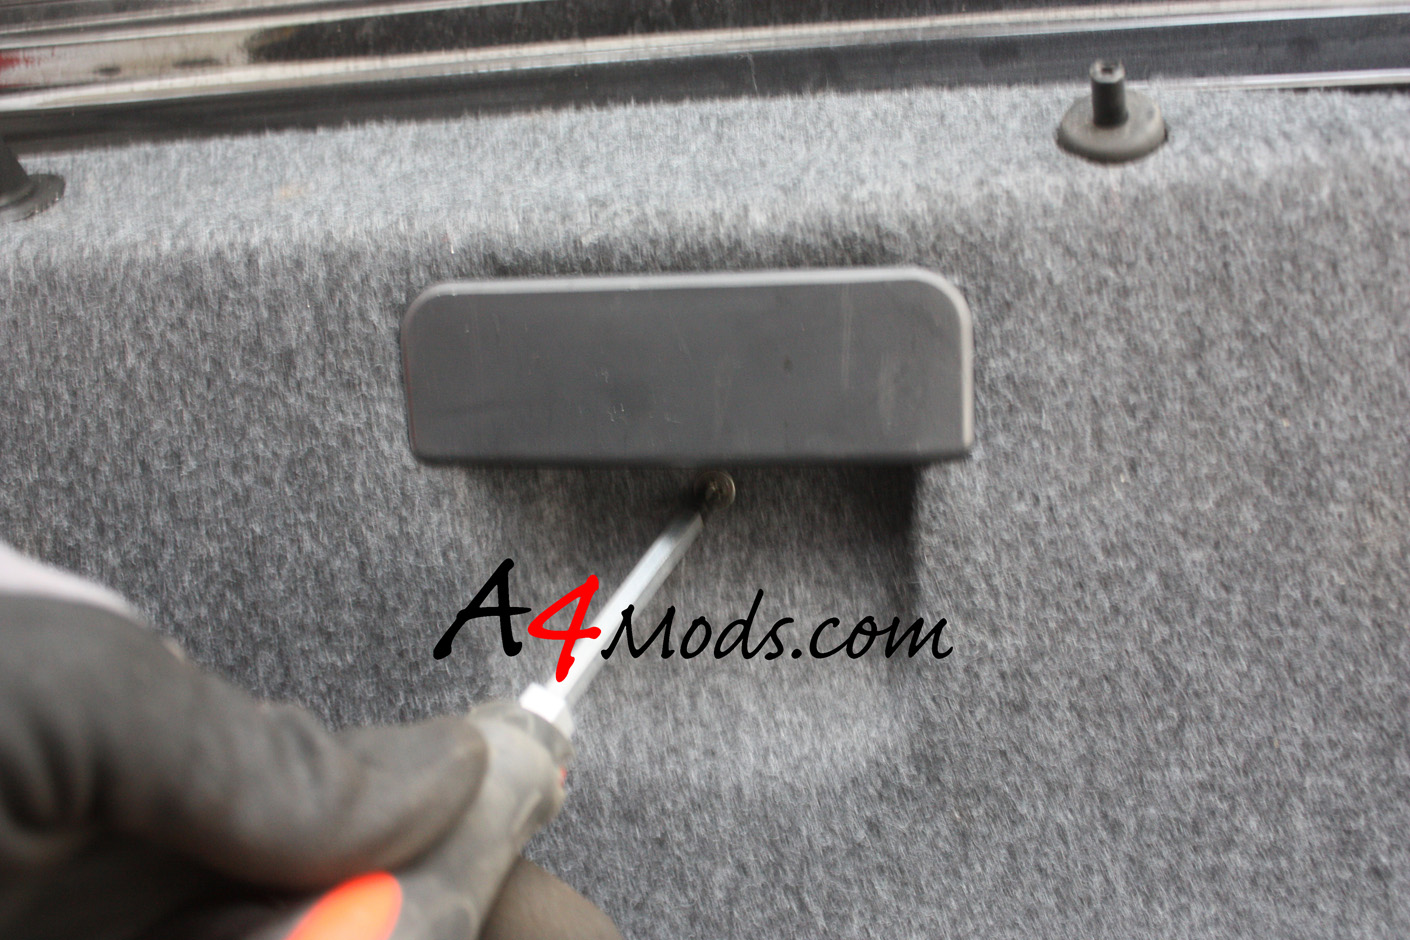 |
||
|
|||
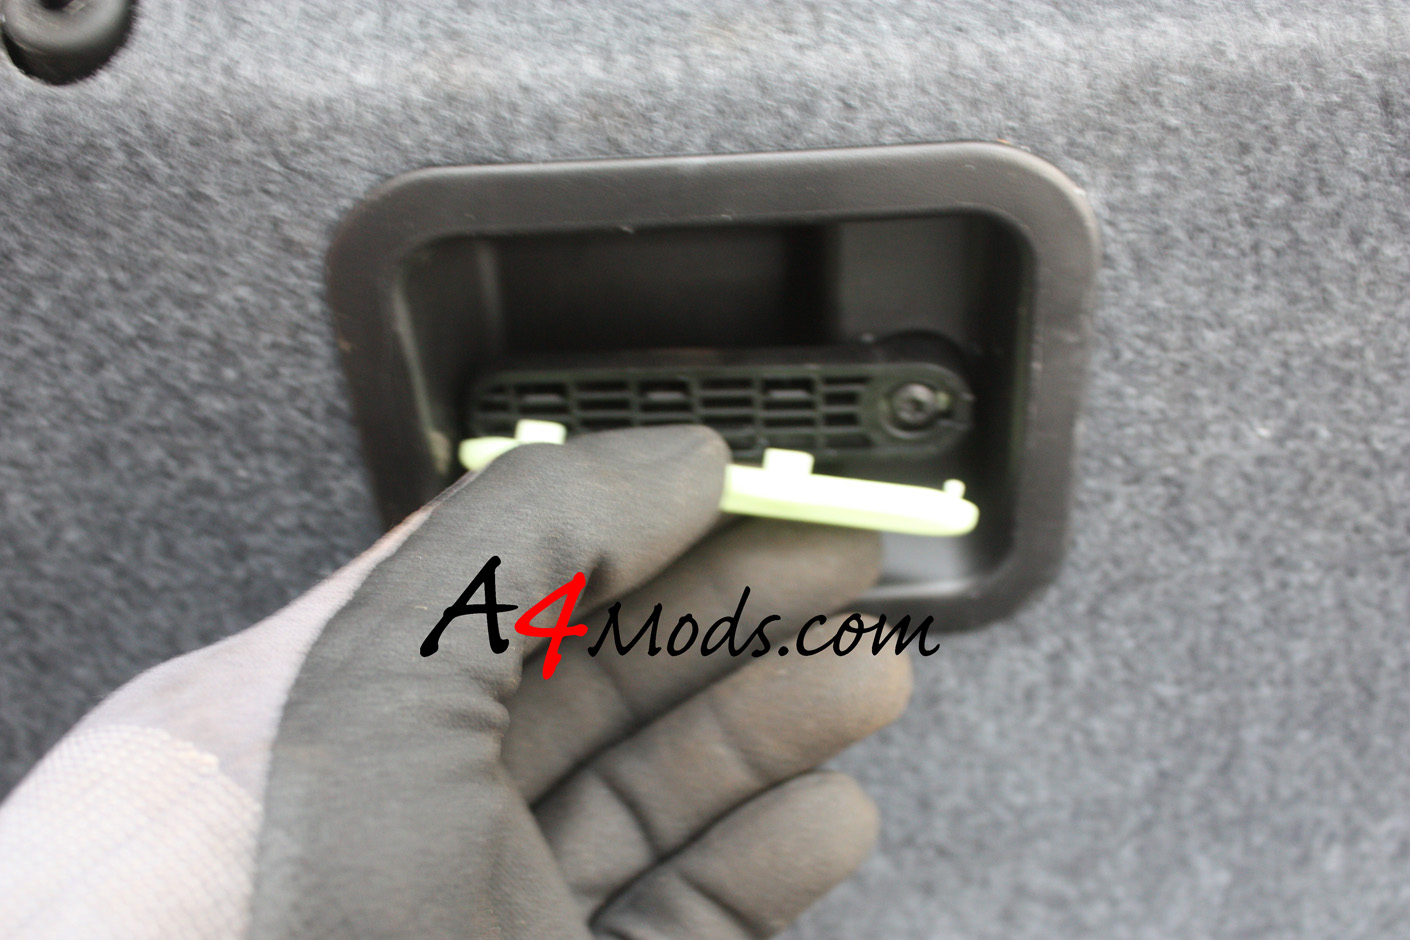
Next you need to remove the handle of the emergency release. On my model, a 2002 A4 1.8T, the emergency release has a glow in the dark cover which hides a T25 Torx bolt. First you pry off the glow in the dark cover, then you access the torx bolt and remove it. Once the torx bolt is out, you can pull the handle off |
|||
 |
|
||
|
|||
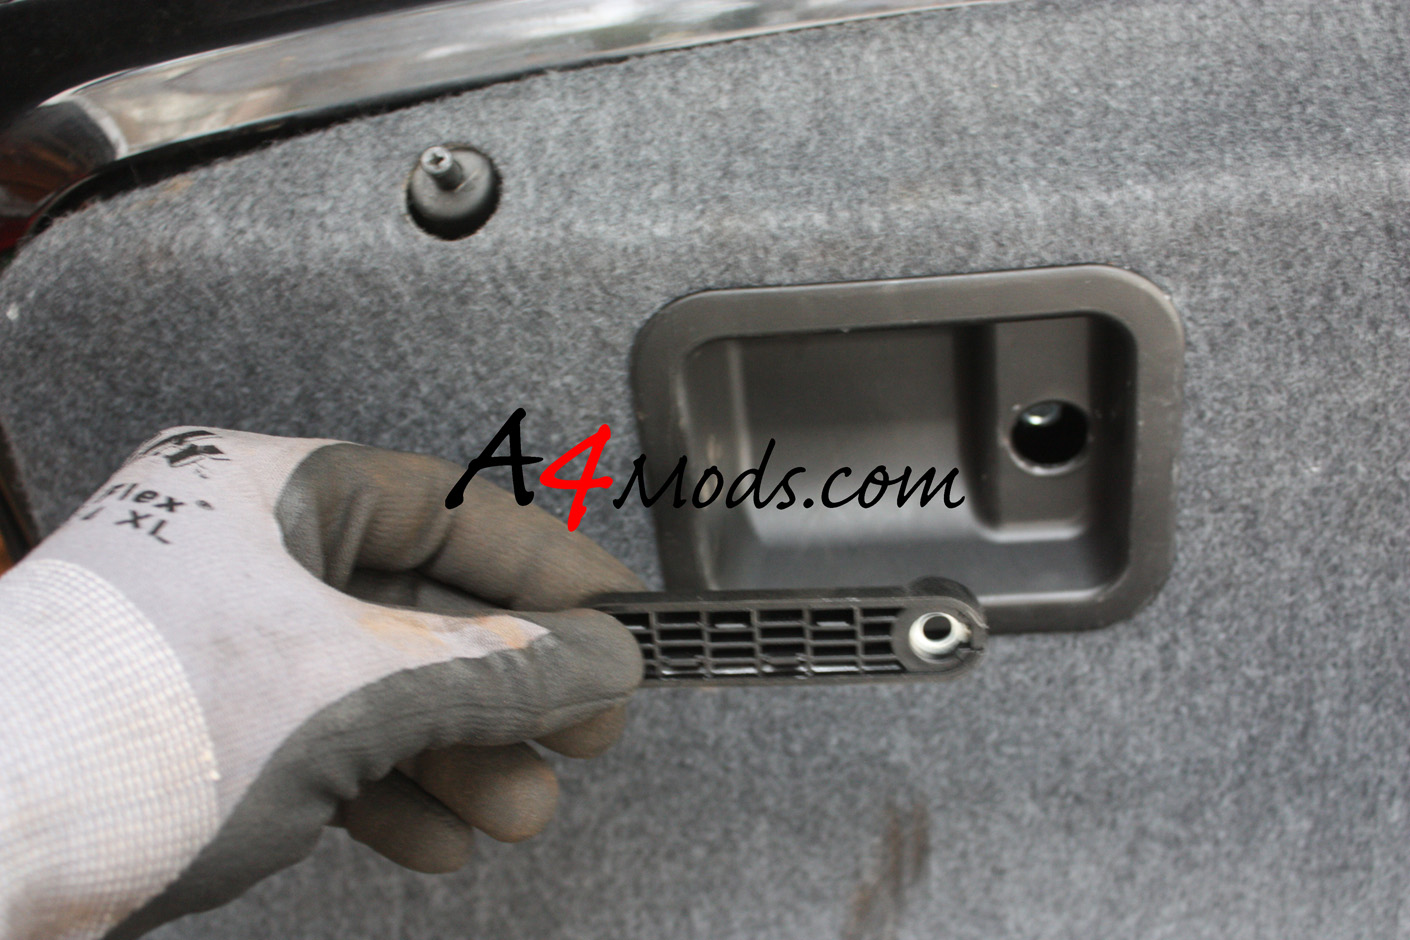
Next, you need to remove the plastic cover that actually covers the trunk latch. In order to do this, you can use a 90 degree pick to release the plastic cover. In order to get a clearer picture I did this step out of order. In the picture to the right you would have the trunk open, and be looking from inside the trunk up at the trunk release. You can see that you can get pick under the plastic tab to remove the cover. |
|
||
|
|||
Once you have removed all of the parts listed above, start working around the edges and popping off the cover. There are 8 clips around the edge - just slowly work around the edge pulling towards you. The cover will come right off. |
|
||
| Once you remove the trim, you will be able to see the trunk release mechanism. | 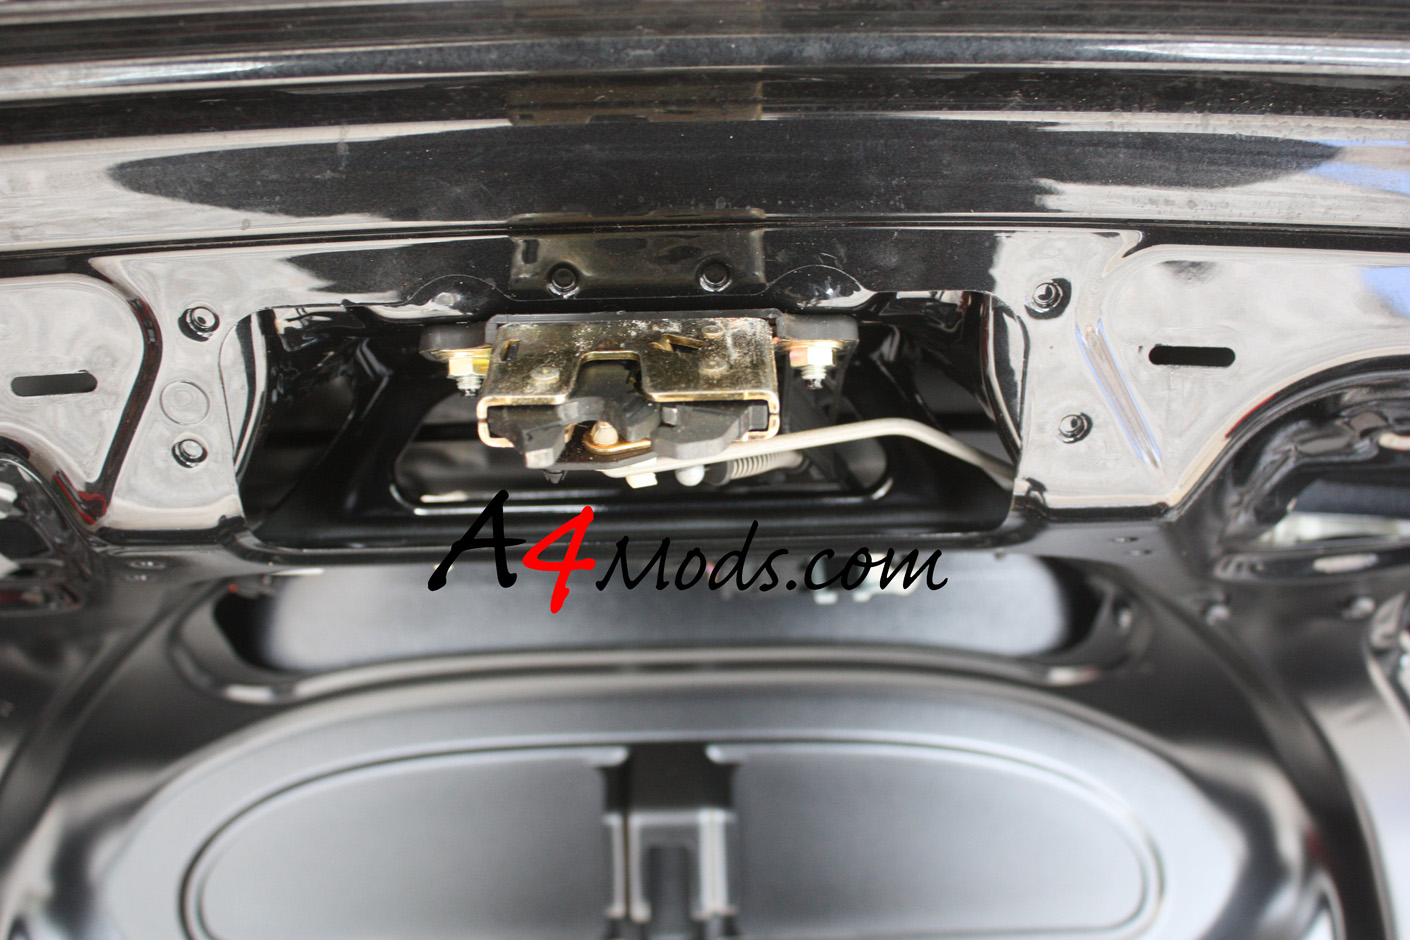 |
||
|
|||
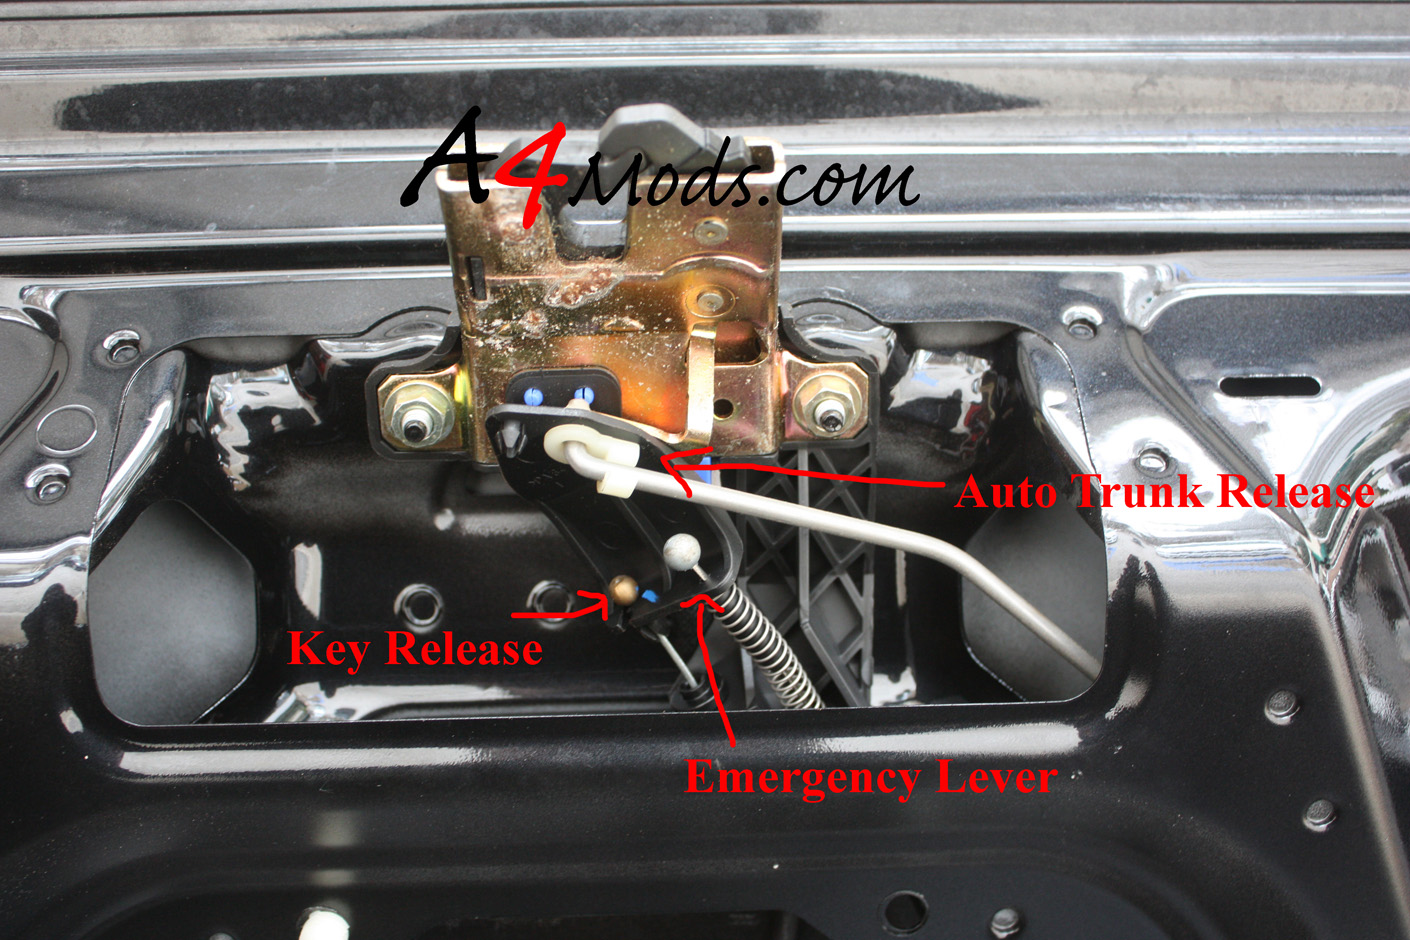 |
Upon close inspection of the trunk release, you will see that there are actually 3 different connections - one for the key, one for the emergency handle, and then a third for the automatic trunk release on the key FOB. I have labeled them all in the picture to the left |
||
|
|||
| Now, what you do from here depends on what is not working on your trunk. For me, the auto trunk releae was not working. Fortunately, the motor was still firing, it just was not able to pull the latch far enough to open the trunk. If you have another problem, you will want to inspect the cables, etc to make sure everything is tight. | |||
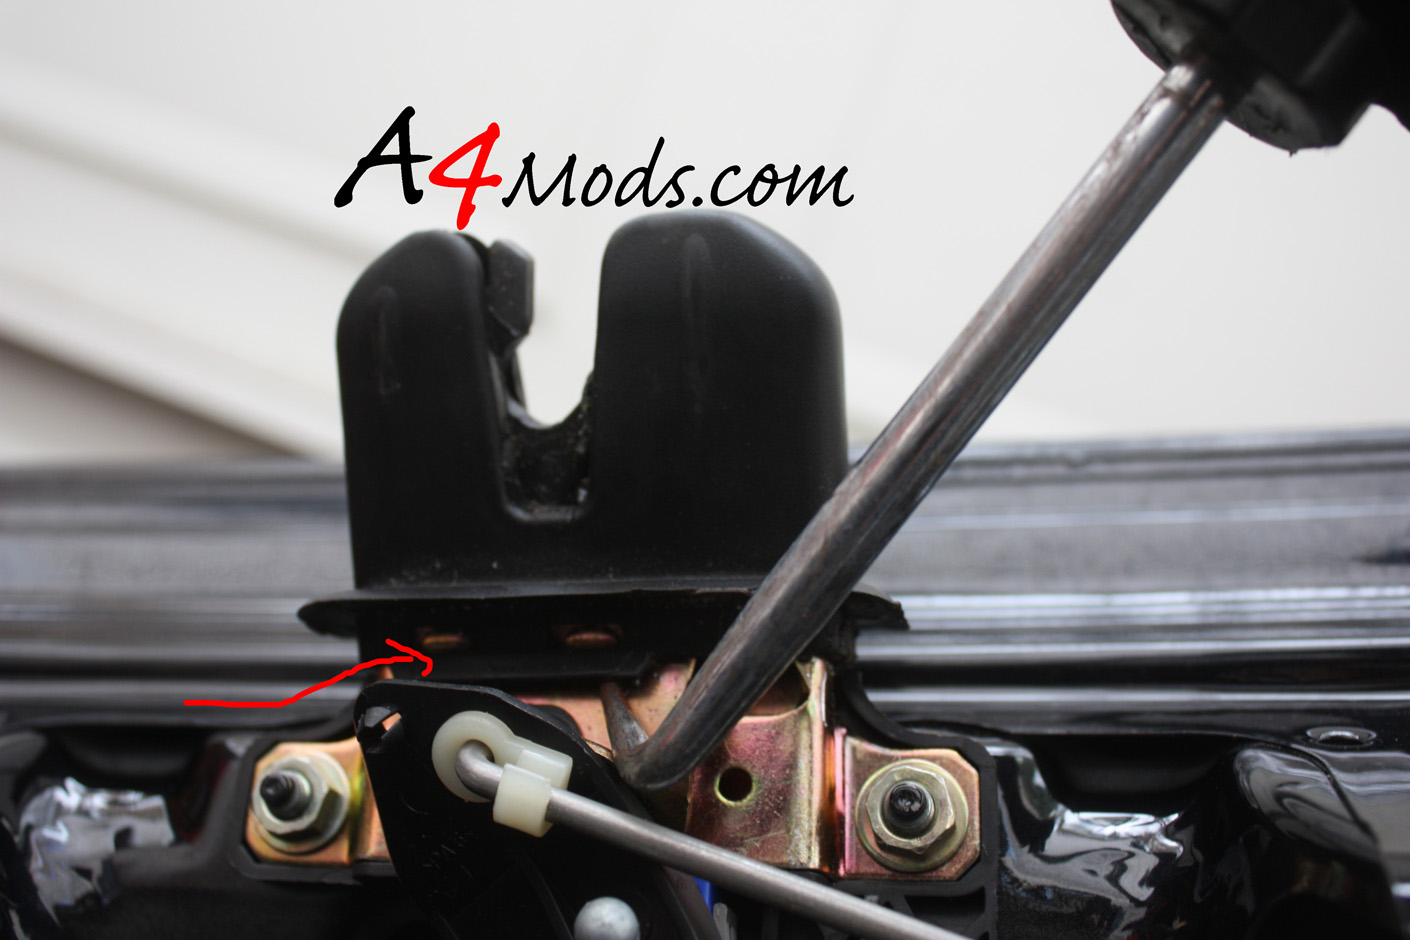
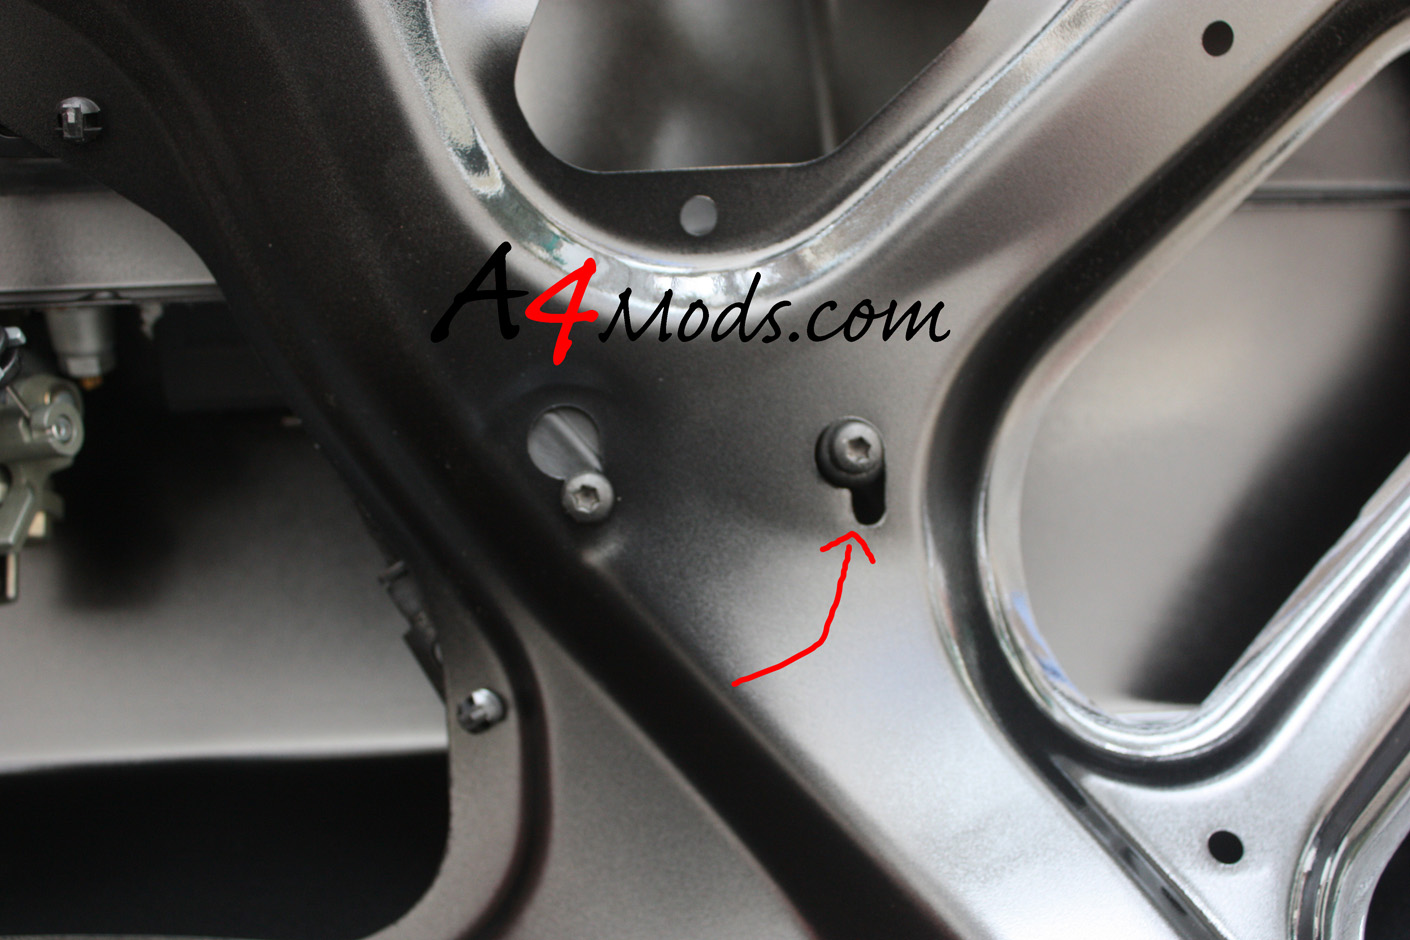
Upon close inspection, I found that the automatic trunk releae motor had shifted in its mounting. As you can see in the picture to the right, the motor is mounted to the trunk lid with two screws. The screwes basicall clamp down in slots on the trunk lid - there were no loc-tite or anything - so as soon as one bolt got loose, the motor pivoted in the slot. This, in my opinion, is a pretty terrible design. - with all the banging the trunk goes through, I dont' see how this is going to last. Regardless, it is was an easy fix. |
 |
||
|
|||
 |
All I had to do was shift the motor back in place, tighten the bolts and put some loc-tite on them. This small adjustment was enough to make it all work like normal. | ||
|
|||
From there I just buttoned everything back up in the reverse order and was good to go.... |
|
||
|
|||
Hopefully your fix is as easy as mine was.... good luck |
|||