Building an Amp Rack - B6 Audi A4
Prior Experience: None
Cost: approx. $10-15
Time: aprrox. 1/2 day
| Discuss this mod - Here | |||||||||||||||||||||||||||||
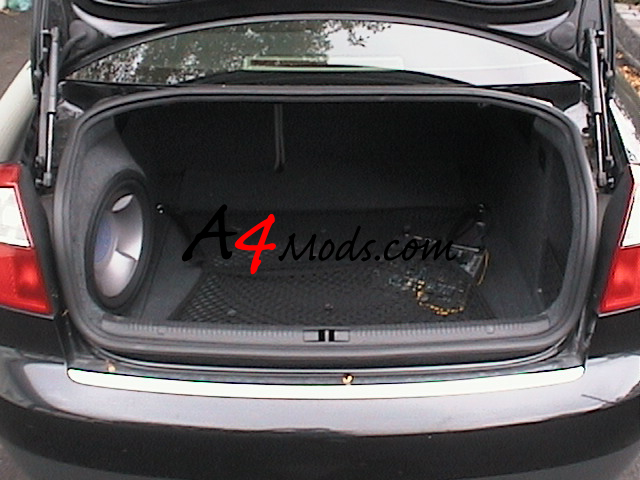
When I was done installing my custom sub-box, it was time to make an amp rack to get my amp off of the floor. There are all sorts of amp racks and you can spend any amount of money on building one. I went for the easiest possible solution and I think it came out cool. To the right is a pic of before the mount, below is after it was complete. This was an extremely cheap project and took almost no time. Let's get started |
 |
||||||||||||||||||||||||||||
 |
 |
||||||||||||||||||||||||||||
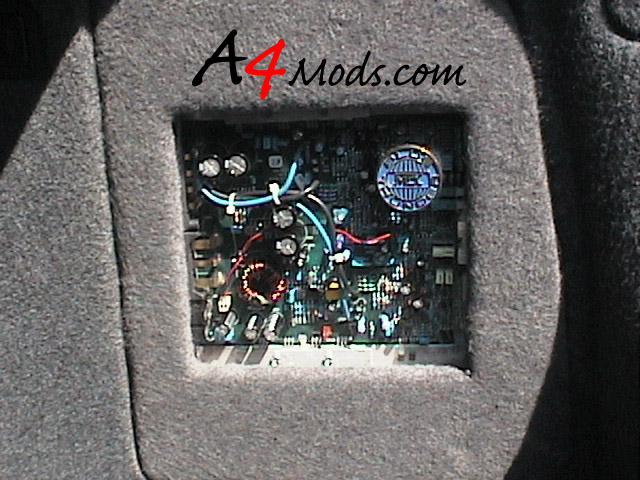
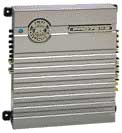
Before I started to make the 'amp rack' I decided to open up my amp to show its electrical circuits. The exterior of my amp was very boring and was not worth "showing off." I took the blue thunder badge off the front, removed the bottom and sides and used them as templates for plexiglass parts that would be taking their place. After about an hour of drilling and fitting the plexiglass I got what you see above. I think it looks much better and is at least slightly interesting. To the right you can see the boring original: |
 |
||||||||||||||||||||||||||||
SUPPLIES - I purchased all supplies from Lowes and the whole project, including plexiglass cost about 15 bucks....can't beat that. |
|||||||||||||||||||||||||||||
|
|||||||||||||||||||||||||||||
If you want to do the plexi-glass inside thing then go ahead and do it. Like I said the only thing you have to do is remove the old covers and duplicate them with plexiglass covers. PROBLEM: This may void any warranty you have - my amp is old and out of warranty anyway. ALSO - unless you somehow re-write all of the switch and control headings, you will not be able to tell what wire gets connected where or what each knob does. You can always refer back to the original covers so I suggest not throwing those away. |
|||||||||||||||||||||||||||||
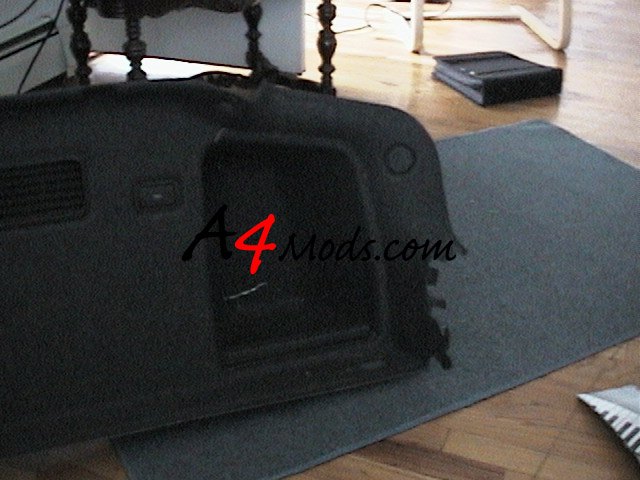 |
Since it is always a pain to work out of the trunk of your car, my first suggestion is to remove the right-hand side trunk trim. This will allow you do work inside, or where ever you want. This procedure entails removing the spare tire, some cross trim and the rear-seat backs. To see how to do this refer to your bentley or back to my sub-box fabrication. The right side comes off the same as the left. When it is out you are ready to go. |
||||||||||||||||||||||||||||
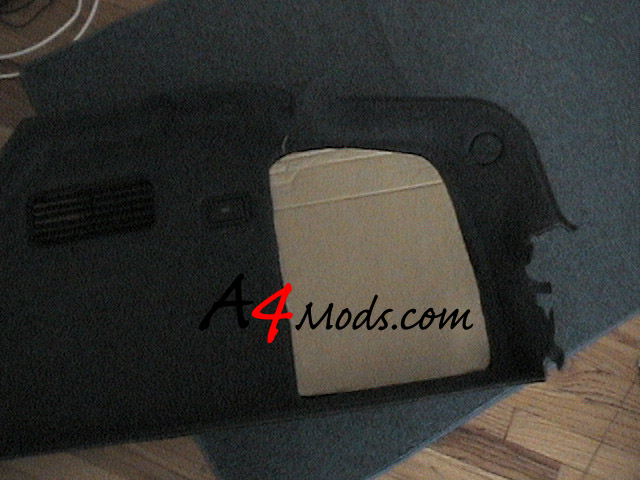
The goal is to cut a piece of wood the same shape as the side-trim-opening. Since it is an odd shape with curved corners, I decided to first cut the shape out of cardboard. This proved to be much easier than just hacking away at wood. After folding and trimming the cardboard for about 20 minutes, I got the rough shape: If the fit is not exact, it is no big deal. There is room for adjustment later on. |
 |
||||||||||||||||||||||||||||
 |
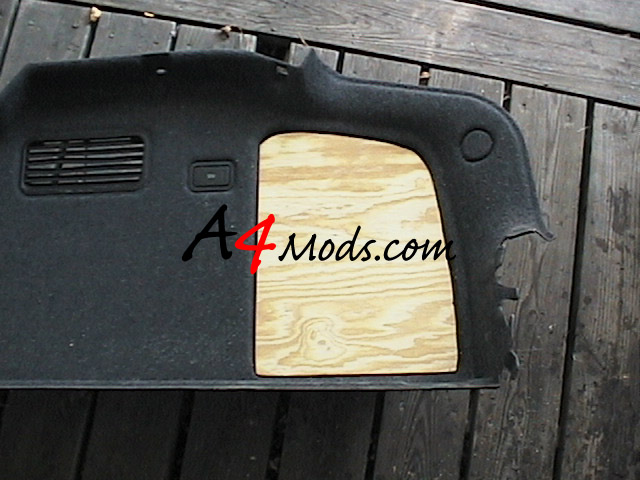
The next thing you want to do is to use this cardboard stencil on the wood to cut out the shape you need. This is all pretty self explanatory. After it is traced go ahead and cut it out with your rotozip. I suggest staying outside of the traced line during the first cut and then trim it down where necessary. If your feeling confident, go ahead and cut the line. Here it is |
||||||||||||||||||||||||||||
 |
|||||||||||||||||||||||||||||
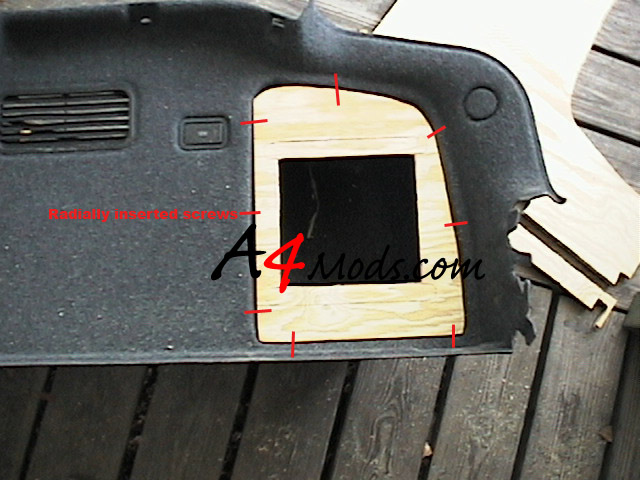
Next you want to get your amp and lay it on the board however you want it. You need to trace the outside of the amp on the board and judge where you want the "window" to be. This all depends on the amp and should be your, easy choice to make. After you have decided hit it with the rotozip again. Heres mine: That should be the last of your cutting so go ahead and sand down the rough edges. Some 60 grit paper and a sanding block will work miracles. |
 |
||||||||||||||||||||||||||||
This next part was by far the most tedious. I decided to 'mount' the amprack by inserting wood screws radially into the thickness of the board - through the trim of the car. I don't have pictures of this but the diagram to the right shows what I mean. You should first drill as many holes as you want around the board since they need to be placed in the middle of the thickness to ensure it does not split. Then you should go around the trim and match-drill the holes in the board. You should be sure to put holes in the corners and around parts where your wood does not seem to fit perfectly. Since the trim is somewhat flexible, the screws will be able to pull it towards the wood and close the gaps. |
 |
||||||||||||||||||||||||||||
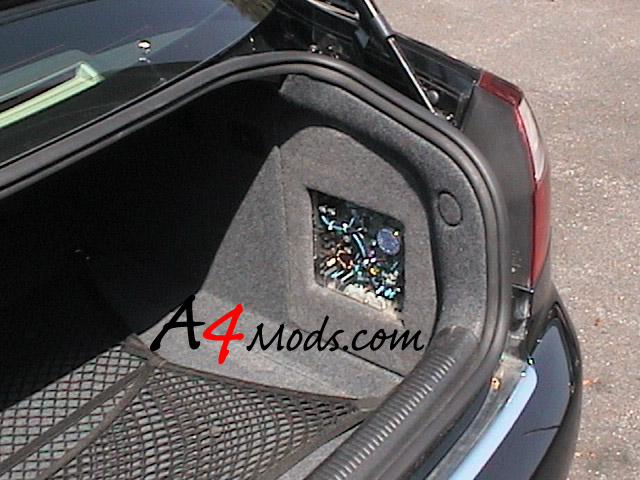
When all your holes are drilled it is time to cover the wood with the fleece material. You will cut the fleece to size and apply 2 or 3 layers with the spray glue. To see how to do this, refer to the sub-box guide. It is a straight forward process of spray, lay the fabric, spray and lay another layer of fabric. When this is done and dry, go ahead and cut the window hole in the fabric. From there its just a matter of screwing your amp on and running the wires to it like a regular install. I installed the wires to the back of the amp, then screwed the amprack in place, then reinstalled the liner. Here is the result. |
|||||||||||||||||||||||||||||
|
|
||||||||||||||||||||||||||||
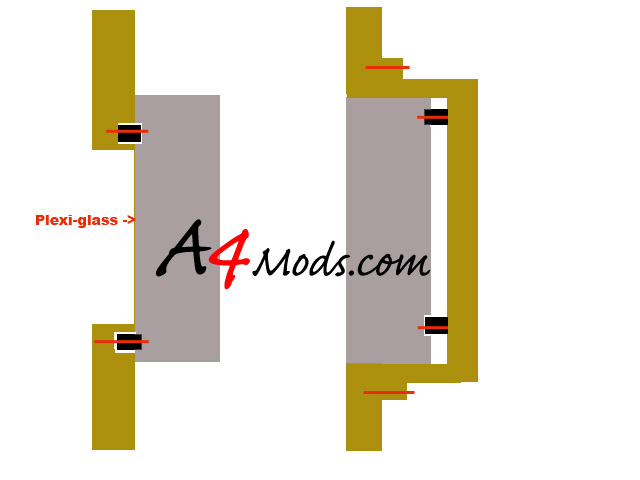
SIDE NOTE: my amp is not flush with the side of my car because it is mounted to the back of the amp rack. Therefore it is 1/2 inch recessed from the front of the board. If you do not do the plexiglass thing, it would be easy to get it to mount completely flush. Below is the diagram of how my amp is mounted, and how you could mount it if you wanted it to be flush. The "black boxes" are the mounting tabs for my amp which were annoying and got in the way. This was the best I could do without spending 3 days on the project. You can do it however you want. Good luck. |
|||||||||||||||||||||||||||||
mine |
yours? |
||||||||||||||||||||||||||||
 |
|||||||||||||||||||||||||||||