Using the OBDTool to Remove the Auto Level Error - Audi A4
| Prior Experience: None | |
| Cost: approx $90 or Free | |
| Time: 15 minutes |
| Discuss this mod - Here | |||||||||||||||||
|
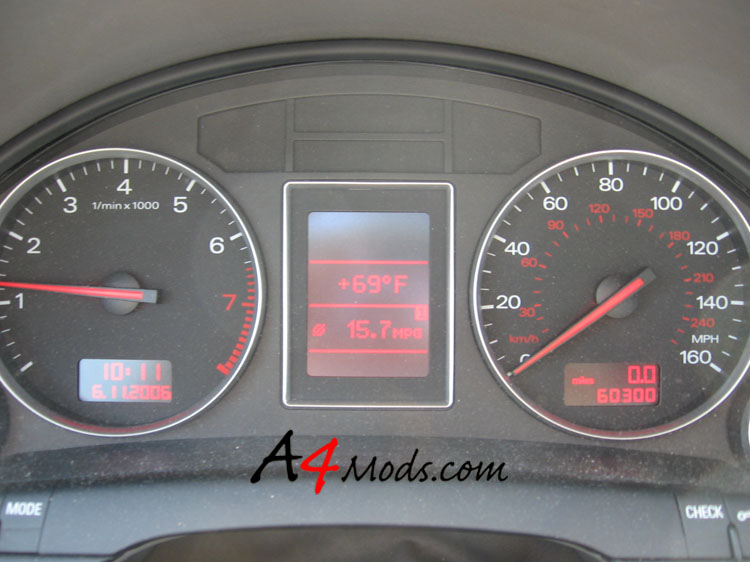
After taking my bumper off and test fitting my GFB Stealth valve I took the car for a test drive. For the first time ever, I started the car without having the headlights installed. I threw about 100 error codes but didnt think anything of it since, afterall, there were no headlights in. After re-installing everything I assumed the codes would just go away. This was not the case. I got the annoying "Auto-Level Sensor" Error in the dash which I could not get to go away. After searching the forums I got some good information that helped me get rid of the problem. Unlike what you will read someplaces, I did NOT bend any brackets, etc. Everything was done with the Vag-Com. I don't believe bending brackets is necessary although some people swear it is (if your car is lowered). My car is completely dumped, and I didn't have to do it. I had some issues when I cleared these codes which I will explain as we go along. | |||||||||||||||||
 |
 |
||||||||||||||||
| Before | After | ||||||||||||||||
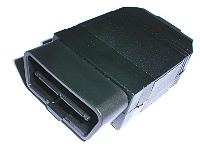
SUPPLIES - The only thing I needed for this was the Vag-Com. I happend to use the OBDtool www.obdtool.com dongle since It is considerably cheaper. YOU MUST have a cable which is able to read DUAL K-Line! These are usually more expensive than the standard ones. The dual K line OBDtool is only $10 more than the standard one...so get that one! |
|||||||||||||||||
|
|||||||||||||||||
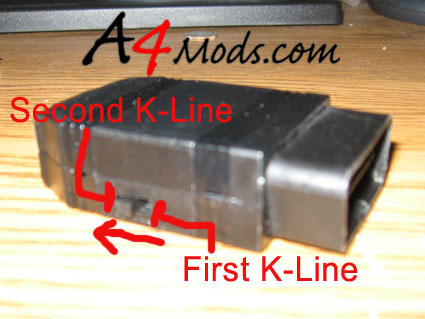
Step 1 -The first thing you need to do is switch your OBDtool to read the second K-line. This is done by switching the switch on the side AWAY from the OBDII connector (towards the serial connector). |
|||||||||||||||||
 |
|||||||||||||||||
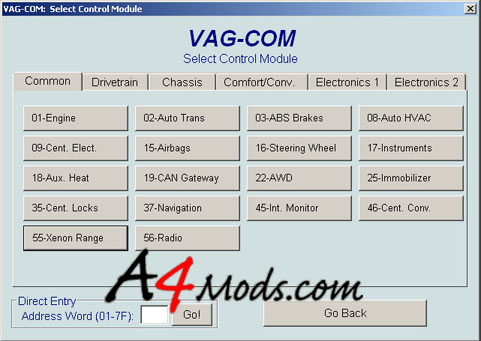
Step 2 -Connect the OBDtool to the OBDII port of the car (located under the driver's knee bolster). Boot up the Vag-Com Software and find module 55 - Xenon Range (for newer cars you may have to go the Electronics section of Vag-Com and use the "Left Light" module) |
|||||||||||||||||
 |
|||||||||||||||||
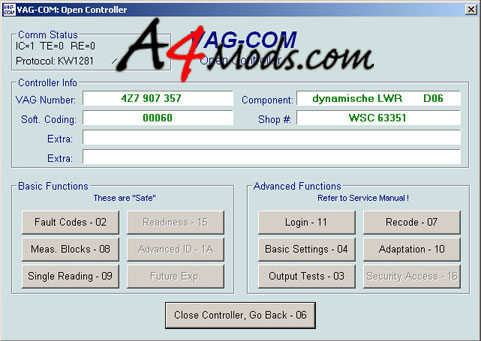
Step 3 -Open control module 55 - Xenon Range. If your tool does not connect to the module, chances are you do not have it set to read the second K-Line as explained in step 1. |
|||||||||||||||||
 |
|||||||||||||||||
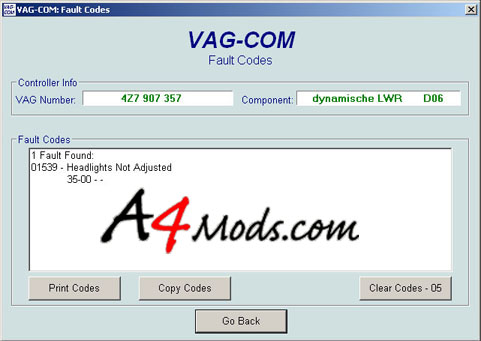
Step 4 -Go to Fault Codes and see what codes are there. If there are multiple codes, clear them all. After they are cleared, one code should come back which is the culprit: |
|||||||||||||||||
 |
|||||||||||||||||
If this code does NOT return, then you can probably stop here as your error message will go away. If you are not that lucky, keep reading. Step 5 - Assuming the "Headlights Not Adjusted Code" is back, you need to do a couple more things. The FIRST time I did this, I only had one more step to follow, however when I did this the second time, the process was much longer. I will run you through a couple scenarios - The easiest methods first. If you find yourself trying these things and they are not working, then just keep reading. In the fault code screen click "Go Back" to go back to the Xenon Range module page. |
|||||||||||||||||
 |
|||||||||||||||||
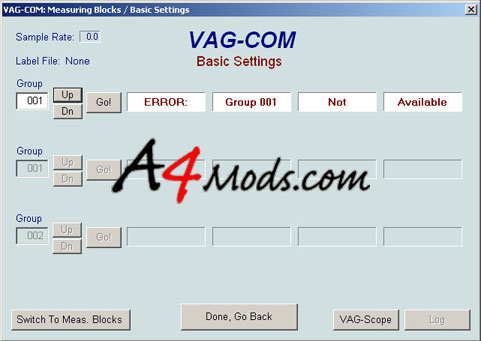
Step 6 -Click on 004-Basic Settings. Where it says Group 000, press the UP button to get to Group 1. If you are lucky, you will not have an error message and it will say WAIT. After a couple seconds it should change to this: |
|||||||||||||||||
 |
|||||||||||||||||
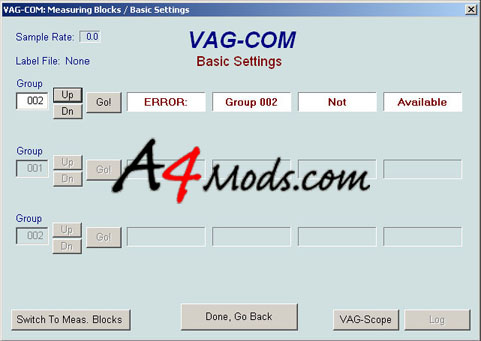
Step 7 -If did not have an error message in group 1, and it successfully went to the message displayed in the picture above, then you are LUCKY. All you have to do from there is click the UP button one more time to get to group 2, and wait for the following message to appear: |
|||||||||||||||||
 |
|||||||||||||||||
Step 8 - If your group 2 dispayed "Learned" then you are done. You can go back to Step 4 and double check that the fault code has gone away. This is how it worked for me the FIRST time. If you are unlucky, like I was the second time I did this, you may have to take the following steps. Here's what MY group 1 and group 2 messages looked like: |
|||||||||||||||||
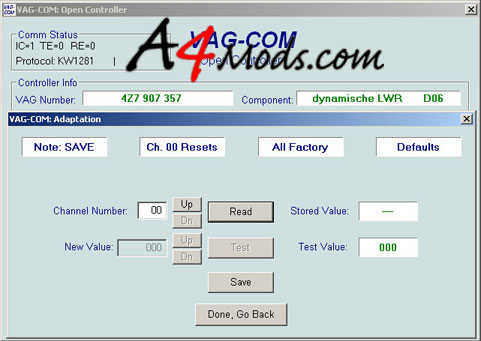
Step 9 -Assuming you have these errors, there are a couple things you can do. First back to the Xenon Range page by pressing "Done, Go back." In the Xenon Range page click on "Adaptation." What we are going to do is reset the lights to the factory defaults. This is done by going to the Adaptation Window, going to Channel Number 00, clicking READ, and then clicking Save. You will see the message says "Note: Save Ch 00 Reset All Factory Defaults" |
|||||||||||||||||
 |
|||||||||||||||||
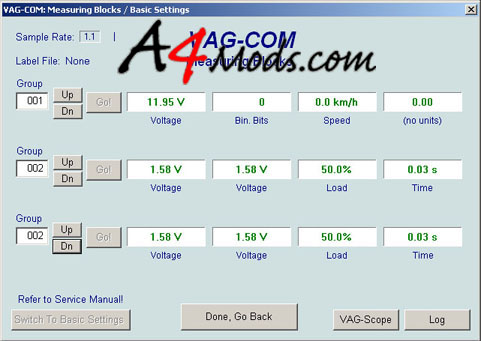
Step 11-Once again return to the Xenon Home page. At this point you want to check to make sure that your level sensors are in a valid range. If your car is lowered, it is very possible that the level sensors are bottomed out and reading invalid values - This CAN cause the error messages we saw in Group 1 and 2 from Step 8. To view the readings of your two sensors, you can click on Measuring Blocks - 08. Then in the measuring blocks page scroll to group 002. |
|||||||||||||||||
 |
|||||||||||||||||
In the above picture you can see group 2 in the middle. The two voltages are the voltages read by your level sensors. One sensor is located in the driver's side front wheel well, the other sensor is located behind the driver side rear wheel. If you push up/down on the driver side of your car, you can get these values to change. Chances are if you are dropped low enough to mess these readings up, you will have to bend the sensor brackets to read values similar to what I have in the picture above. Since my readings were 50% load, I figured they were ok to continue. NOTE: You can probably trick the sensors by just jacking up the drivers side of the car until the voltages read values similar to these. I can't guarantee anything, but its worth a shot before you bend anything. Step 12- After you have reset everything to the factory defaults, and you have verified that your sensors are giving you valid readings, you should be able to go back to the Basic Settings window and repeat Steps 6 and 7. For me, this is all I needed to do. When I went back to Groups 1 and 2, I got the correct "Learned messages." I then went back to the fault codes and the message went away: |
|||||||||||||||||
 |
|||||||||||||||||
OPTIONAL Step 13 - While I was doing all of this, also decided to adjust my headlights. I did so by Recoding them. You don't have to follow this step, but you may want to. Take note of the value in the Soft Coding window on the Xenon Range home page. Mine was originally set to 00060. In order to raise up the headlights a bit, you can enter a lower number. I read a writeup on AW and the guy used 00020, so I gave that a shot. On the Xenon range page, click on the Recode button. And enter the new software coding value as in the figure below and click Do It. |
|||||||||||||||||
After you have recoded the lights you will have to go back to Groups 1 and 2 and re-do Steps 6 and 7 as before With any luck your error message will go away, and your dashboard will be happy.
If this does not work, you can always remove Fuse #10 to get rid of the error message and auto-level functionality. After all who needs auto-leveling lights?...haha
|
|||||||||||||||||
