Boost Gage Pod
Prior Experience: Sub box mod
Cost: approx. $20 plus leftovers
Time: aprrox. 1 day
| Discuss this mod - Here | ||||||||||||||||||||||
 |
 |
|||||||||||||||||||||
After deciding on purchasing a boost gage, I needed to figure out where to install it. AWE offers the center-vent boost gage, but that was like 200 bucks or something retarded like that - plus I'm not that big of a fan. I decided to make my own boost gage pod out of fiberglass to mount to my A-Pillar. I had some trouble finishing this project because the interior of my car is a very odd mix of tan and grey. I had trouble finding a material that matched the interior, and I ended up settling with something that I don't like all that much - however, the procedure is what is important, you can finish yours however you want. Perhaps you have a black interior which is really easy!. Anyway, heres how to do it. |
||||||||||||||||||||||
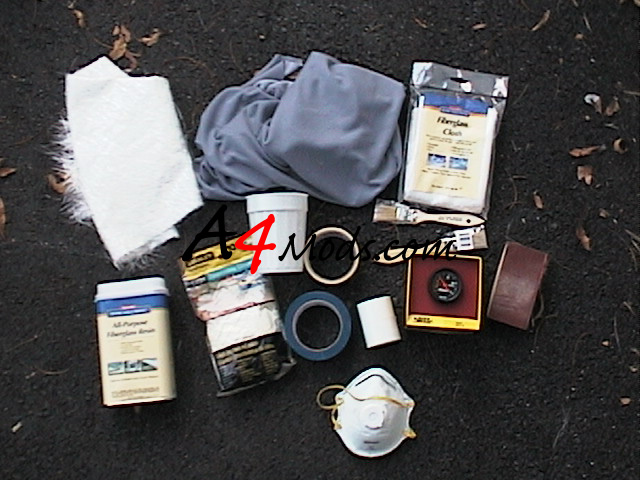
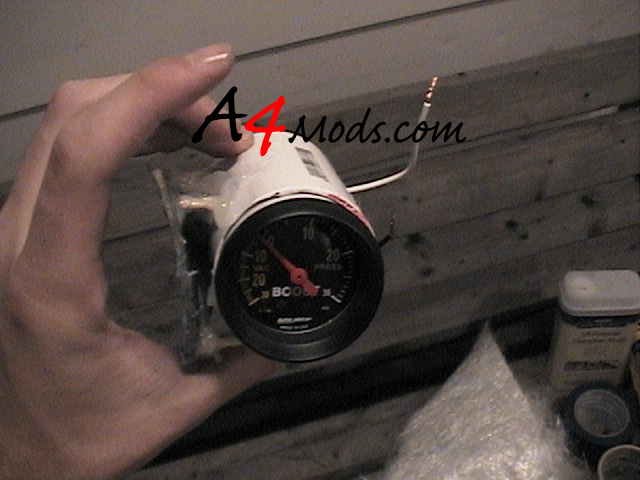
SUPPLIES -Most of the supplies listed here are just repeats from the Sub Box Build - standard fiberglassing supplies. I suggest you read that before you start. The only real "new" thing is a piece of PVC pipe that I purchased to fit the gage into. I just went to Lowes with my gage and started playing around with the PVC - I found a piece that was almost a perfect fit (a little too small) and went with that. Here is the list and the pic - to stay with tradition.. |
||||||||||||||||||||||
|
 |
|||||||||||||||||||||
The first thing you want to do is remove the A-Pillar from your car. I suggest referring to your bentley for this. If you don't have one, then I will explain very briefly how to do it. The first time took me like 15 minutes, now I can get it out in about 1. First you want to take of the drivers side sun visor. There are some Torx screws you will have to remove and a harness for the mirror light that has to get unplugged. After that, remove the handle on the driver's side A-Pillar. Once again, there are a couple torx screws holding it on (underneath the plastic covers). You will then take off the plastic insert that says "Airbag" and remove the screw found beneath it. From here you just pop the pillar off. I suggest starting to work it down by the drivers side air vent and work your way up towards the top - be careful, and don't force it. Like I said, buy a bentley if you want more directions, but its not that hard. |
||||||||||||||||||||||
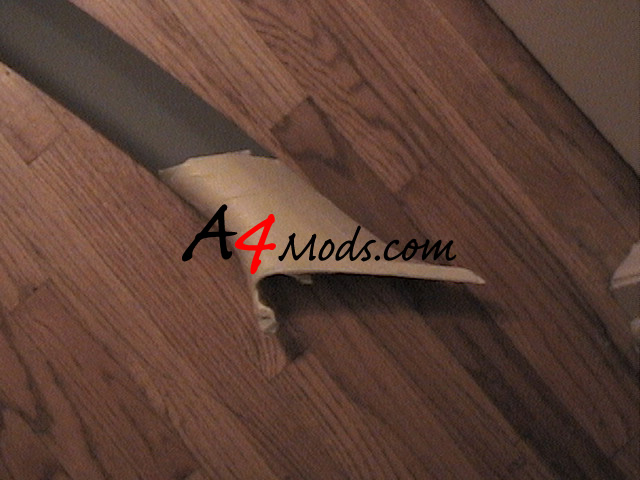
After the Pillar is out, mask off THE ENTIRE thing. As you can see in the pic, I only did the end where the pod was going - don't make this mistake, mask off the whole pillar because this is a messy job!. I then re-masked it with the blue painters tape because that makes it much easier to remove the fiberglass. As you can see, I took a black marker and marked off the general shape of where I wanted the pod. Although I was sure to mark this off, I still messed up and had to doctor the pod at the end. If you screw up somewhere, don't worry, it can always be fixed - that's the beauty of fiberglass. (You will see what I mean shortly.) |
 |
|||||||||||||||||||||
 |
||||||||||||||||||||||
 |
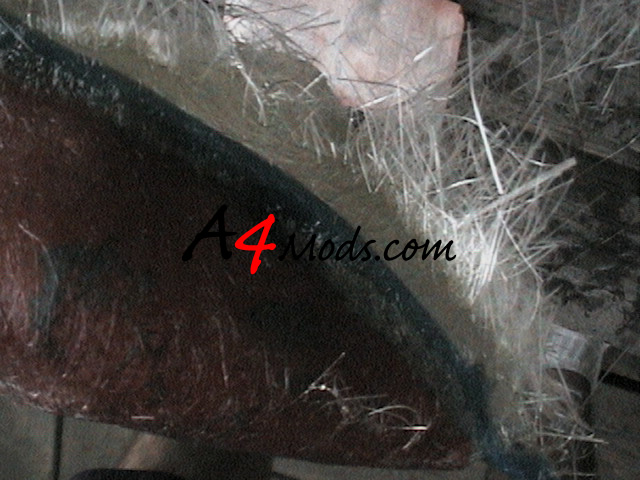
At this point you want to lay your first layer of resin and fiberglass down. I used fiberglass Matte because I think it is easier to work with. If you are unfamiliar with fiberglassing techniques, read the fiberglass sub box writeup. The fiberglass layers do not need to be thick, since this pod wont be under too much stress. Just make sure you get all the contours of your pillar into a solid fiberglass layer. When it is dry, feel free to pop it off the pillar. and trim off all the excess fiberglass around the outside. Pretty easy so far..... |
|||||||||||||||||||||
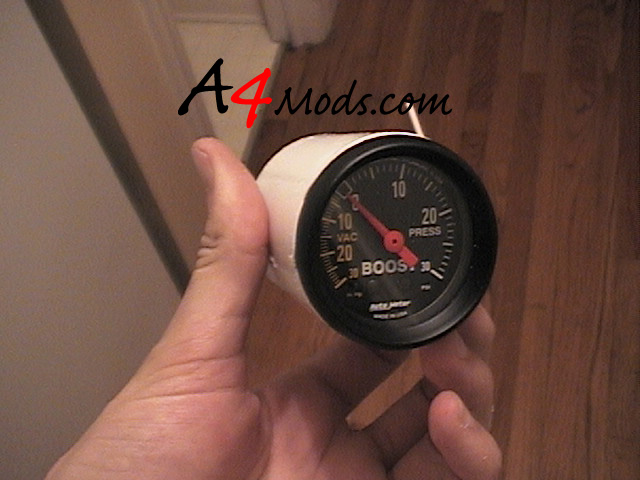
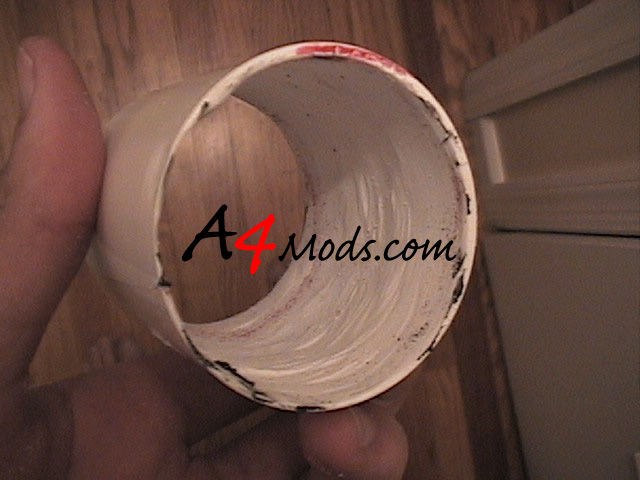
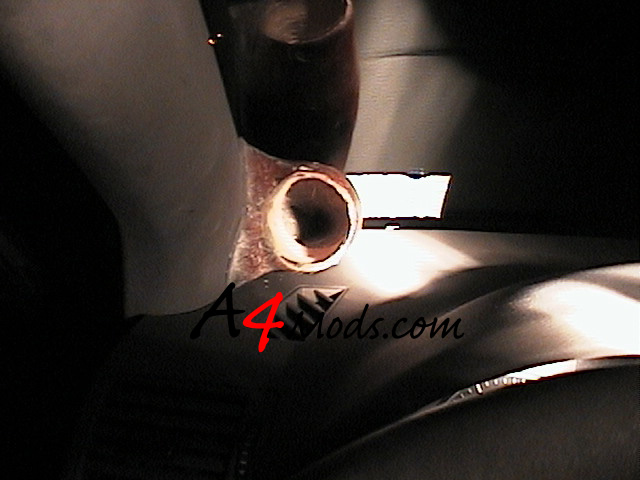
As I mentioned earlier, I purchased the PVC pipe to mount the gage into. The effect I was looking for was what is pictured to the right. The Inner Diameter of the PVC pipe I bought was a little too small for the gage to fit. I decided to grind it down with a dremel tool until it fit. This was the most tedious part of the entire project and I almost think you'd be better off buying a larger PVC pipe and putting something in it to make the gage fit. The choice is yours. Below is what the grinded down tube looked like when it was done |
 |
|||||||||||||||||||||
 |
||||||||||||||||||||||
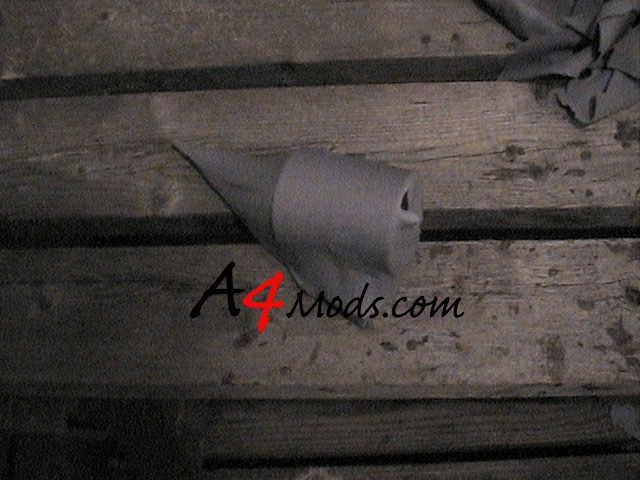
Now for some fun stuff - actually shaping the pod. The technique is similar to what I did for the sub-box. I broke up a couple pieces of dowl rod (and wood skewers actually) and hot glued the PVC pipe onto the fiberglass part that was already made. Be sure to go back and forth to your car to make sure the fit is what you want. It took me about 6 tries to get it right - but that was no big deal being that it was just hot glue. Make sure it is on there good, because you don't want it to collapse when you start to fiberglass it. Heres what mine looked like: |
||||||||||||||||||||||
 |
 |
|||||||||||||||||||||
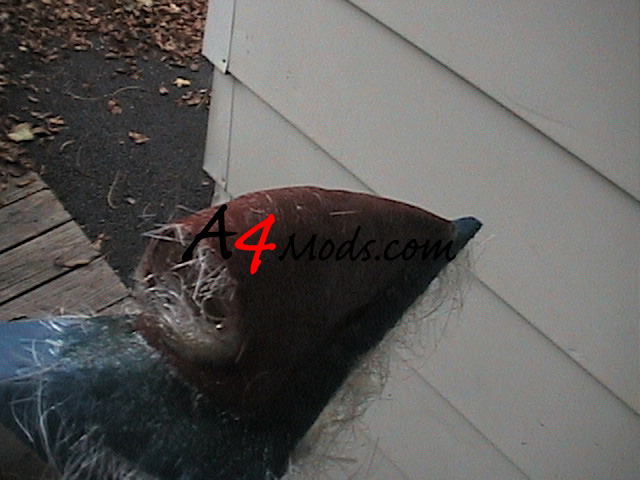
When you have the pod set up like pictured above, it is time to wrap it with the stretchy cloth. I used some spray glue that was left over from the sub-box install along with some hot glue to hold the cloth down. You want to make sure you wrap it well around the edges. Let the pod sit for a half hour or so that the glue can completely dry before you start to fiberglass it. After it dries, coat the cloth with a good layer of RESIN ONLY. Let it dry before moving on....here is what it looks like before and after resin: |
 |
|||||||||||||||||||||
 |
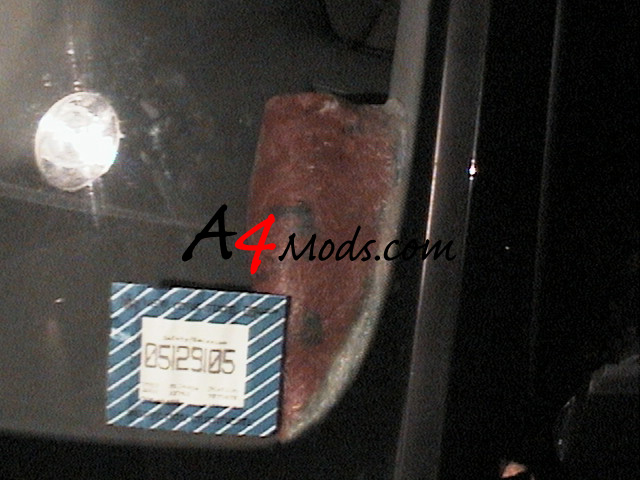
When I placed it in the car, after allowing the resin to dry, you can see that the fit is pretty poor. I was pretty disappointed at this point. What happened was that I did not follow the lines I originally laid down - and then when I went over the part with the cloth, it got thick around the edges and no longer fit between the pillar and the dashboard. You can see how bad it looks by the inspection sticker. At this point I wasn't really sure how to fix it. I tried to do some bondo body filler around the outsides and sand it down to fix, but this didn't work out too well. (you will see the pod is red from body filler from this point on) Then I realized that I'm working with fiberglass, so I could just fix it when I laid that down....kinda easy actually....here's how I fixed this mess. |
|||||||||||||||||||||
The first thing I did was re-mask the entire pillar. I then screwed the messed up pod to the pillar how I wanted it to be. I simply used some T-nuts and screws to do this (I really didn't want to put holes in the pillar, but what are you going to do). When the pod was where I wanted it to be, I started laying the fiberglass down on it. Ghetto Alert: Towards the back end (where the PVC pipe ended) I had to do some ghetto-craftmanship to get it smoothed out. This is going to sound retarded, and pretty sad, but it worked and being that this thing didn't have to be strong at all, it worked rather well. (This is not a technique I would ever use again...haha) What I did was re-layer the stretchy cloth down starting where the PVC ended and going all the way to the tail end of the pod. I pulled it tight and secured it around 2 of the 3 edges with hot glue. Then I actually "stuffed" fiberglass matte between the newly added cloth and the previously hardened cloth. It was like stuffing a pillow or something, but it worked and I was able to get it very smooth. I then re-applied the resin to the new cloth, and the whole thing became one solid piece again - with no PVC discontinuity. Unfortunately I don't have pics of this, because I wasn't going to admit to doing it....haha.....but there you go...haha ok so now for fiberglassing for real! |
||||||||||||||||||||||
 |
With the pod's PVC discontinuity removed, and the pod permanently fixed to the Pillar, I applied fiberglass around the entire pod as pictured here. This was a nice and easy way to fill in the gaps that I was complaining about earlier, and gave me a second chance to stay within the lines I had drawn. Here are some pics: |
|||||||||||||||||||||
 |
 |
|||||||||||||||||||||
You can see here that the gaps are completely filled and everything looks good again!! |
||||||||||||||||||||||
After the fiberglass was dried, I went at the pod again with the dremel tool. This time I was careful to do the cutting right - and as you can see it was a pretty damn good fit this time. |
 |
|||||||||||||||||||||
 |
 |
|||||||||||||||||||||
|
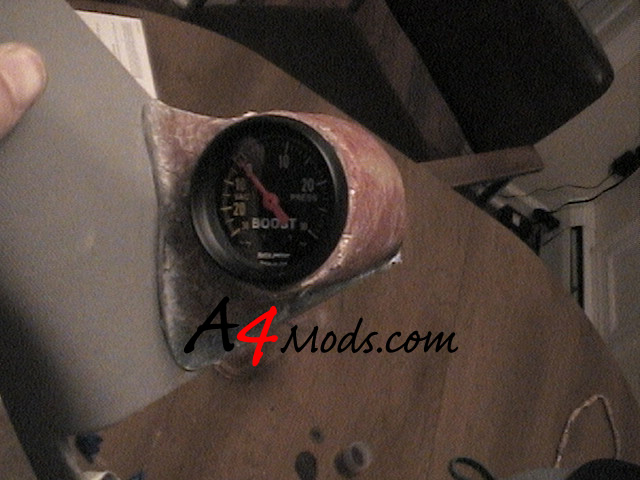
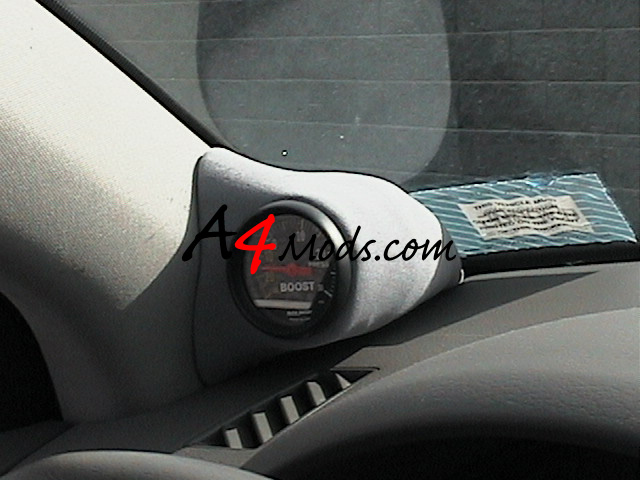
From here the only thing left to do is drill holes to run the gage wires through and finish the outside of the pod. To finish it, you can either cover it with a cloth that matches your interior or paint it. If you want to paint it, you will have to go over the part with some bondo and sand it down so that it has a perfect surface finish. This can be really tedious. Like I mentioned earlier, I could not find paint or material that matched very well, so I picked the closest that I could find. Here are some final shots: |
|||||||||||||||||||||
|
 |
|||||||||||||||||||||
You can see that by putting on the cloth, I lost some of the contours that I had worked hard on getting. The last "unfinished" picture shows how the front was really meant to look, however that was just not possible to keep with the cloth. The reason being that I had to pull the cloth SO tight to avoid having any visible seems on the surface that the glue could not hold it down in all the tight contoured spots. As I said earlier, I will probably re-finish the pod when I can find some better material and/or matching paint, but for the time being, this will do.....good luck on yours! |
||||||||||||||||||||||